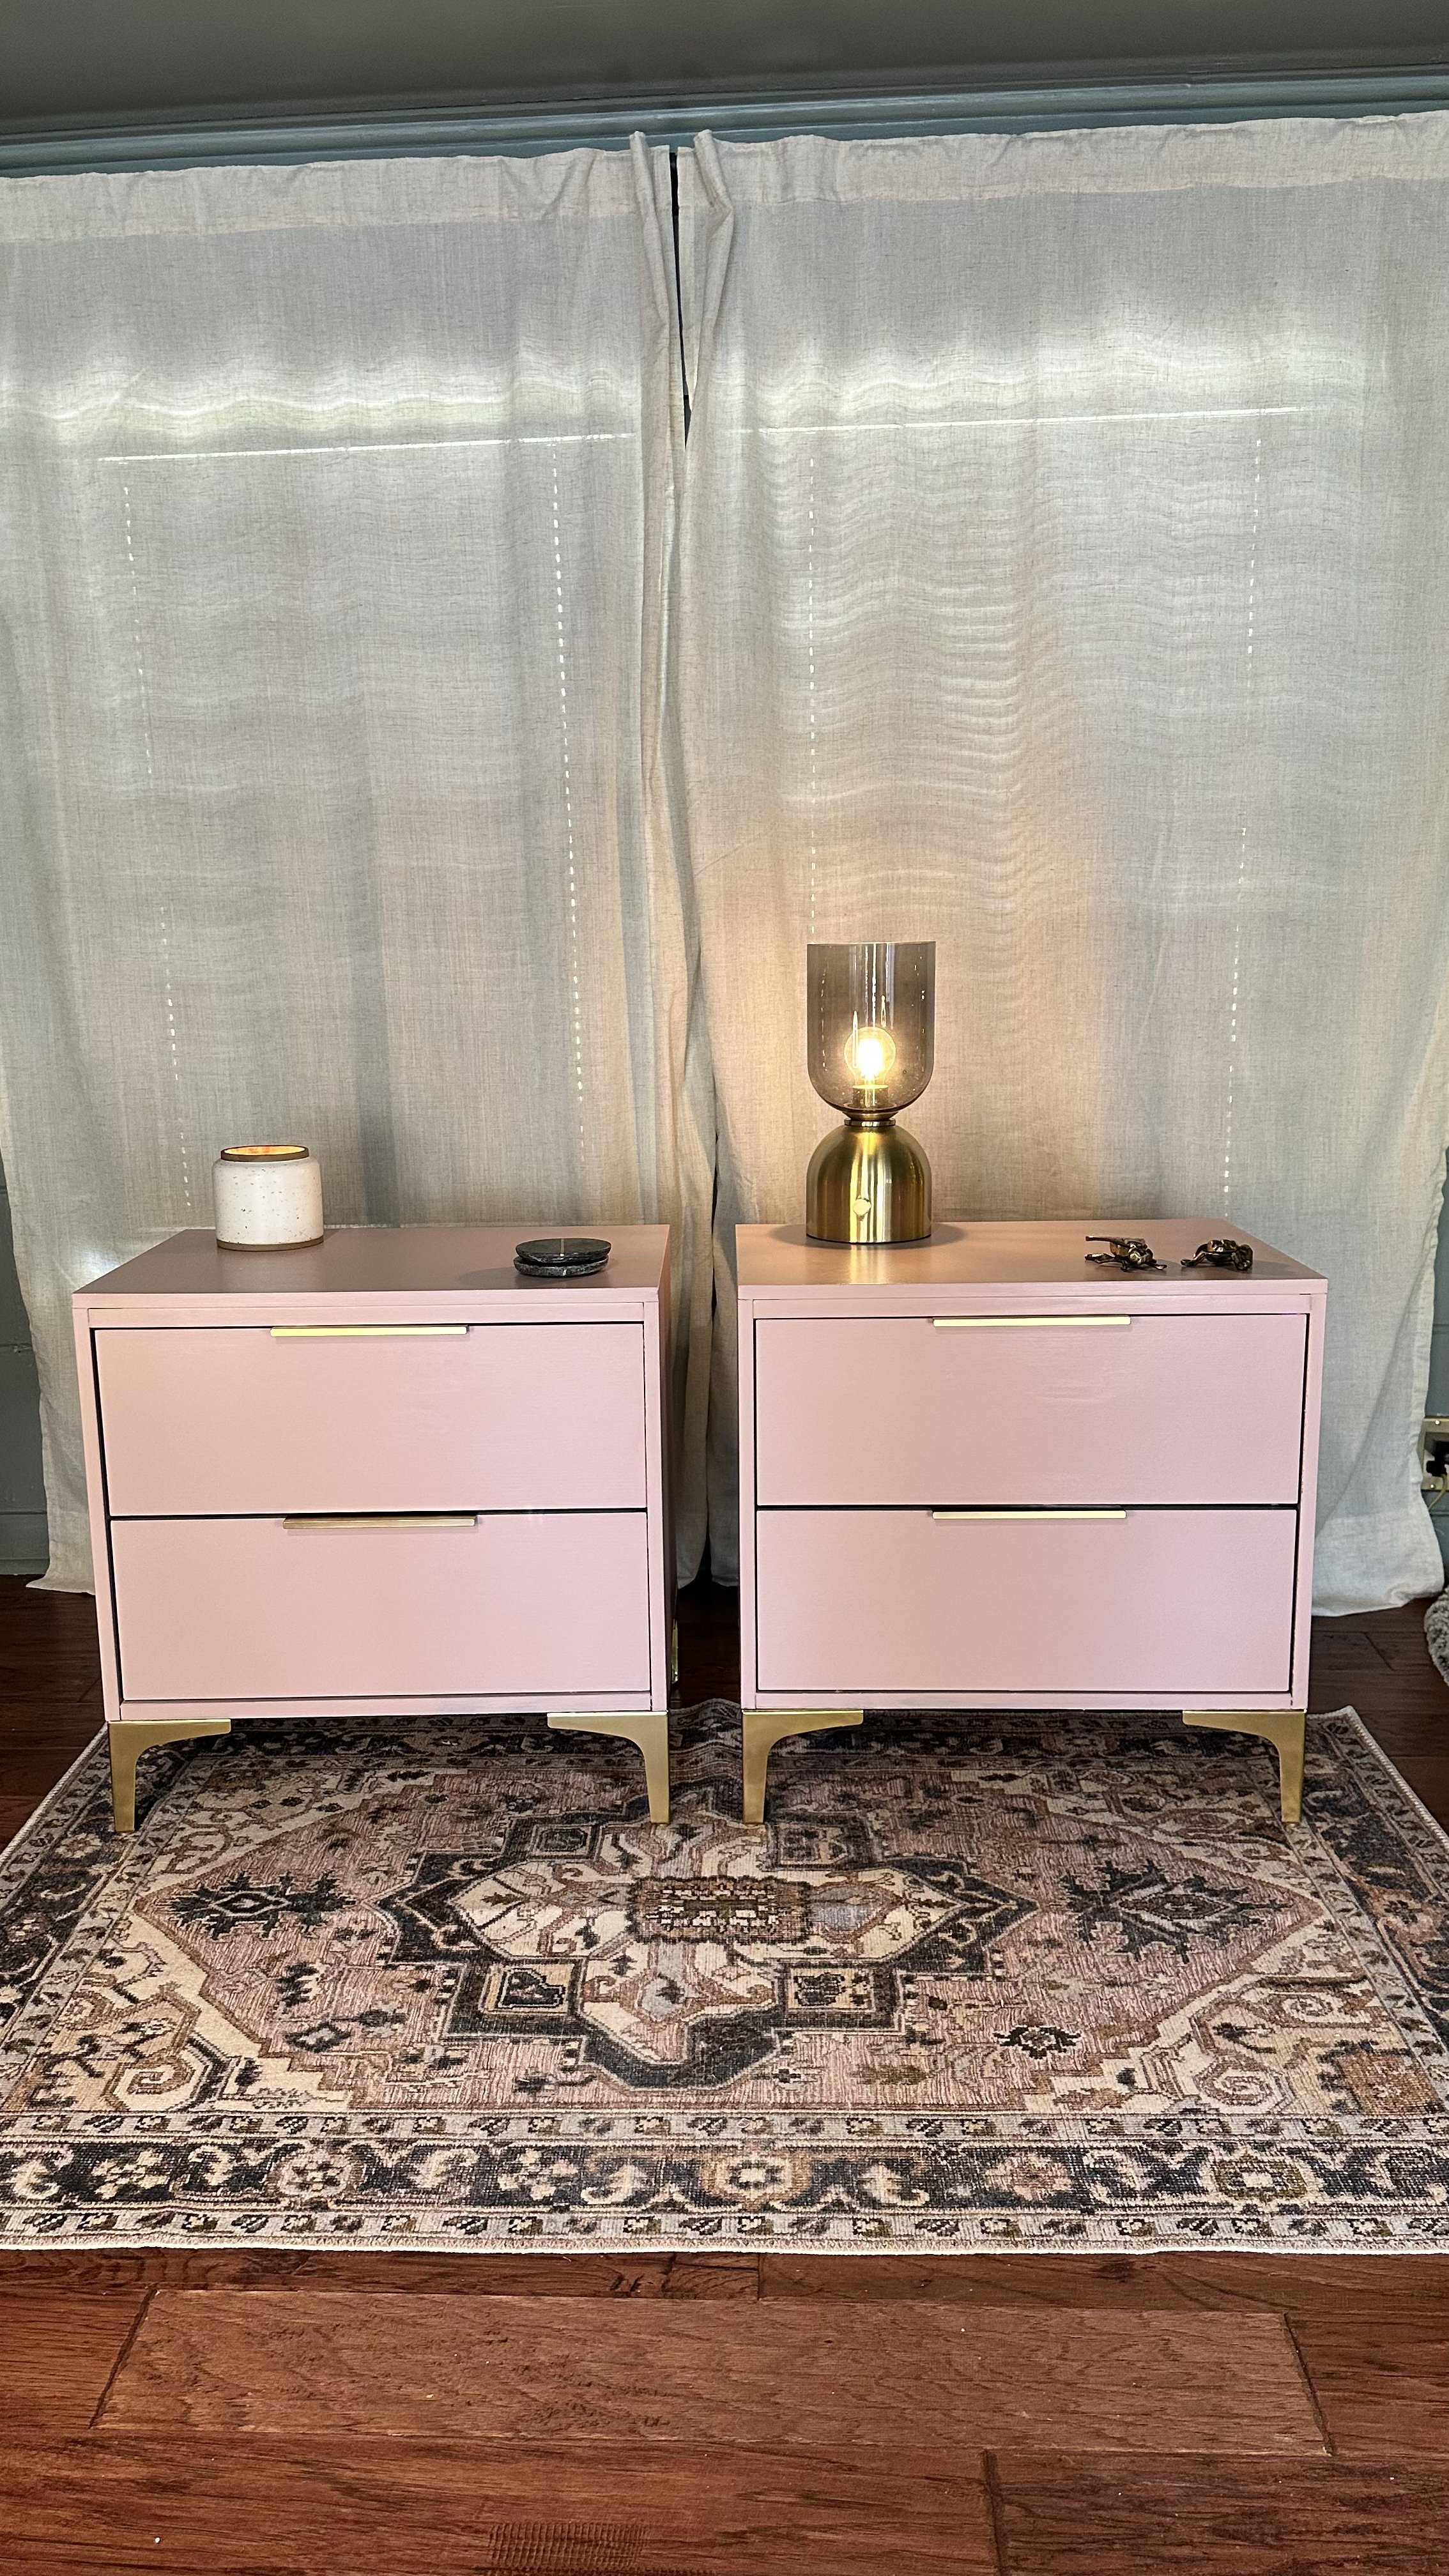
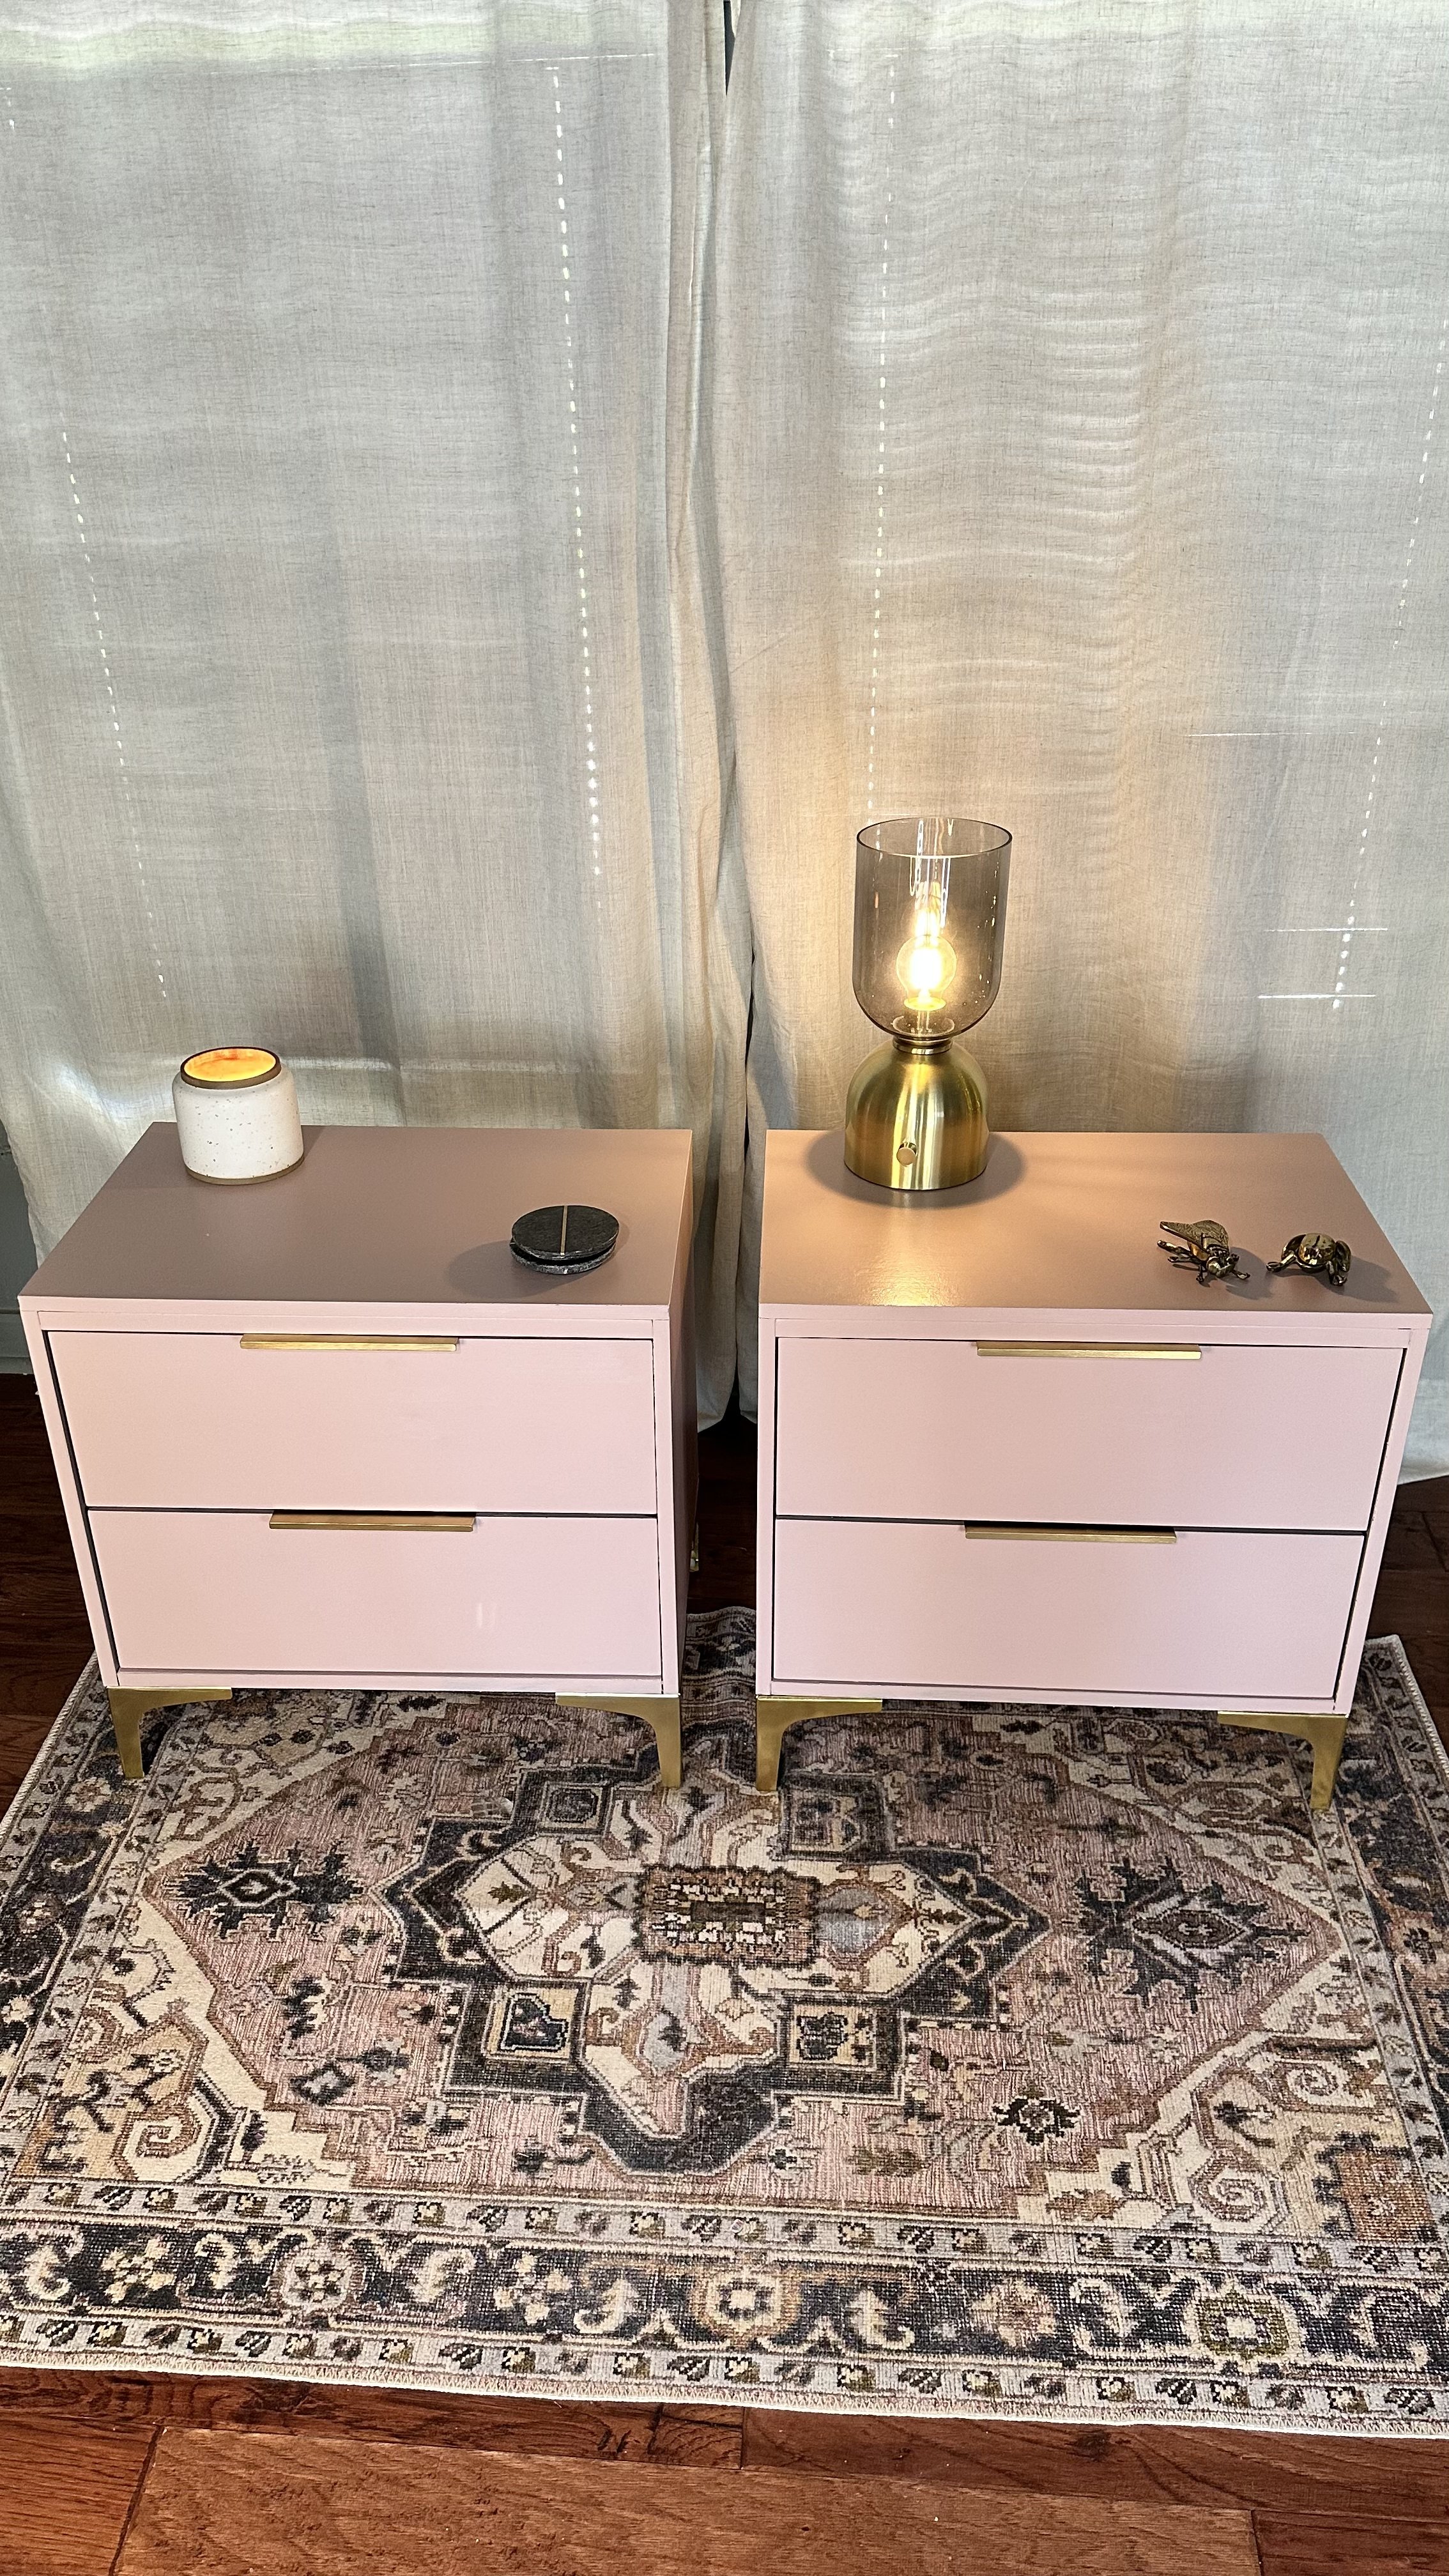
Transforming Outdated Nightstands Using Pink Paint

I recently started a new challenge: randomly picking a paint color from my paint hoard and using it on my next project. I don’t get to pick what I think would look best… I just have to work with what I get. So, friends, that’s how I ended up painting end tables pink. My neutral-loving heart would’ve loved black and gold, but these turned out WAY cuter. (If you love the “before,” you can find similar end tables here on Amazon). Here’s the process of how it all went down... This article contains affiliate links.
Step 1. I found some ugly end tables.
I thrifted mine from Facebook a year ago. Here’s a blog on creative places to thrift if you haven’t read it yet! I prefer to save pieces from the trash, but I work with whatever I can get my hands on.
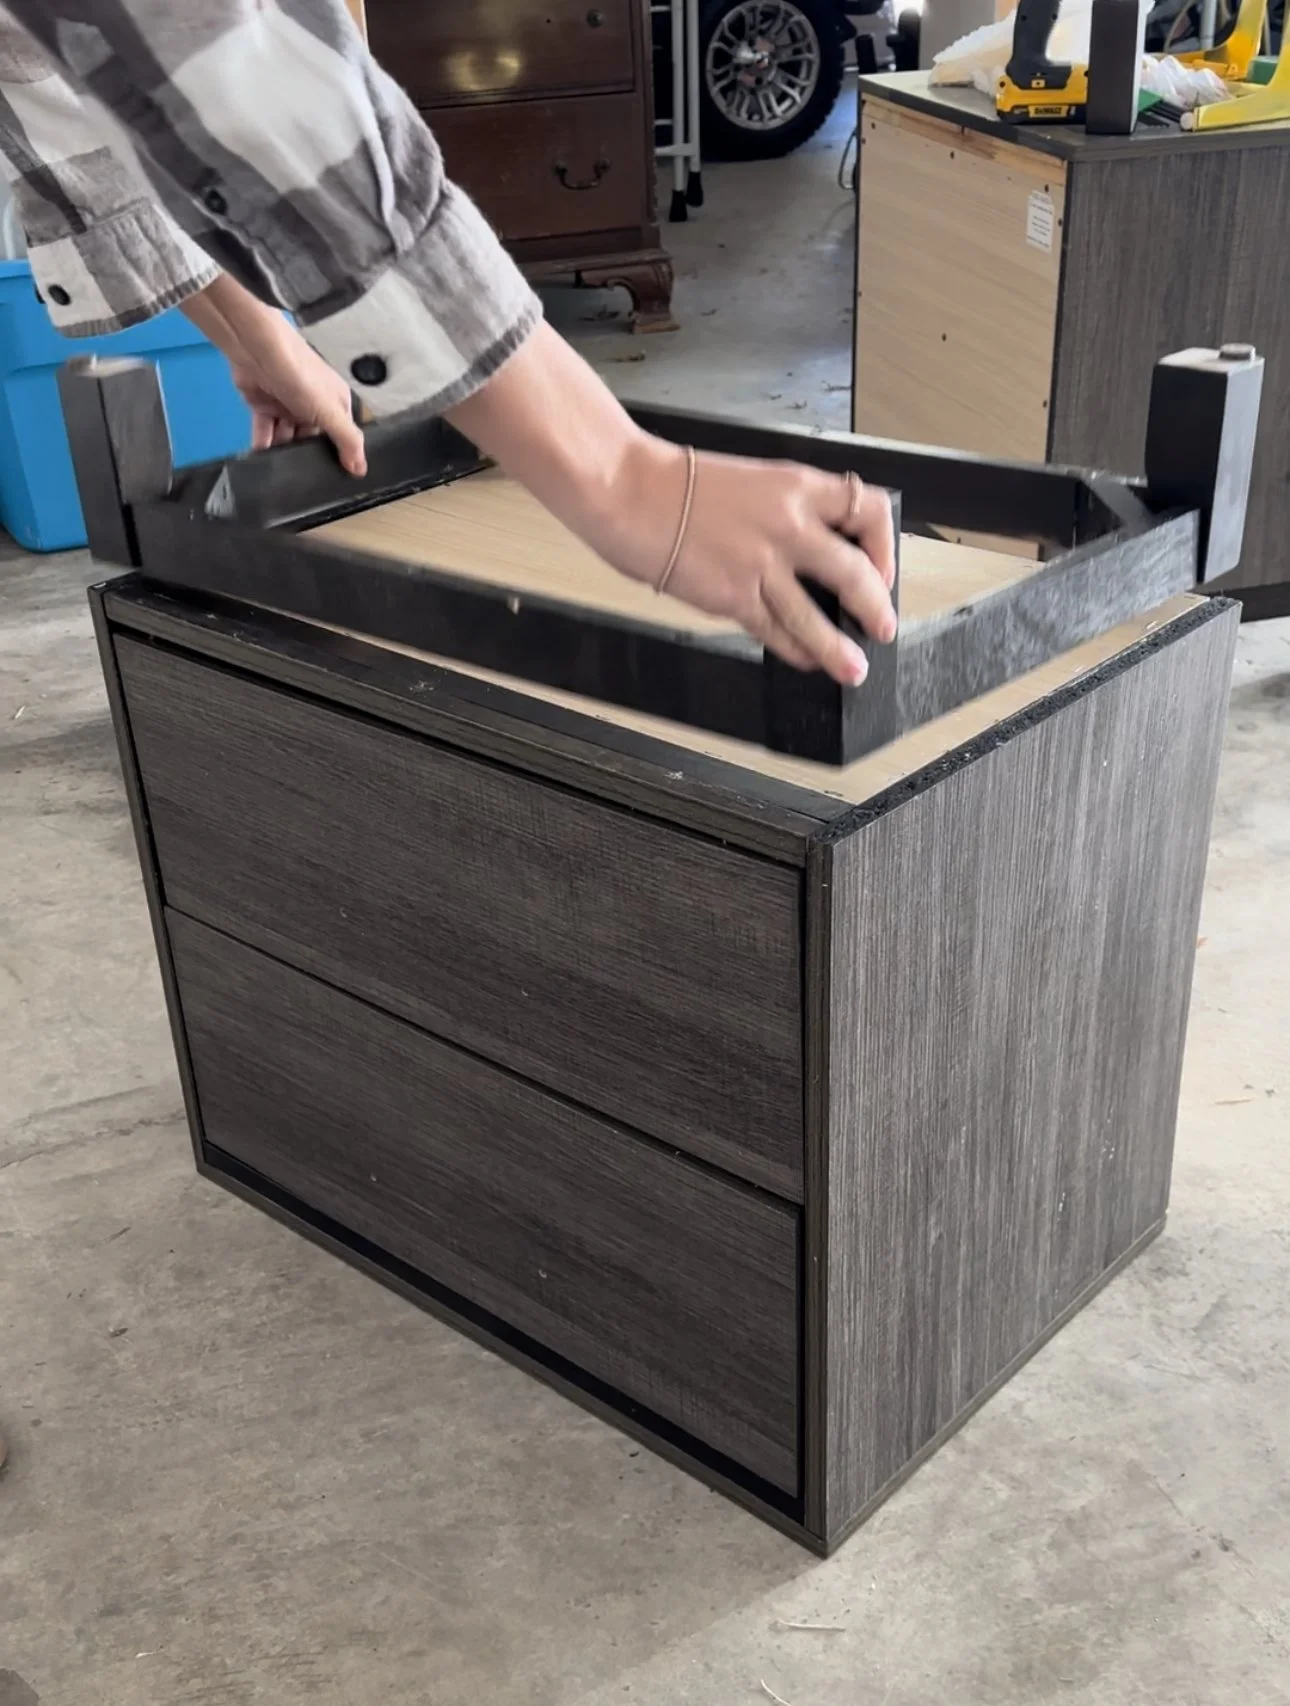
Step 2. I removed the original feet.
They didn’t have handles or knobs, so I got right to work. I used my screwdriver to remove the base. It was that easy! In past projects, I’ve had to use a saw.
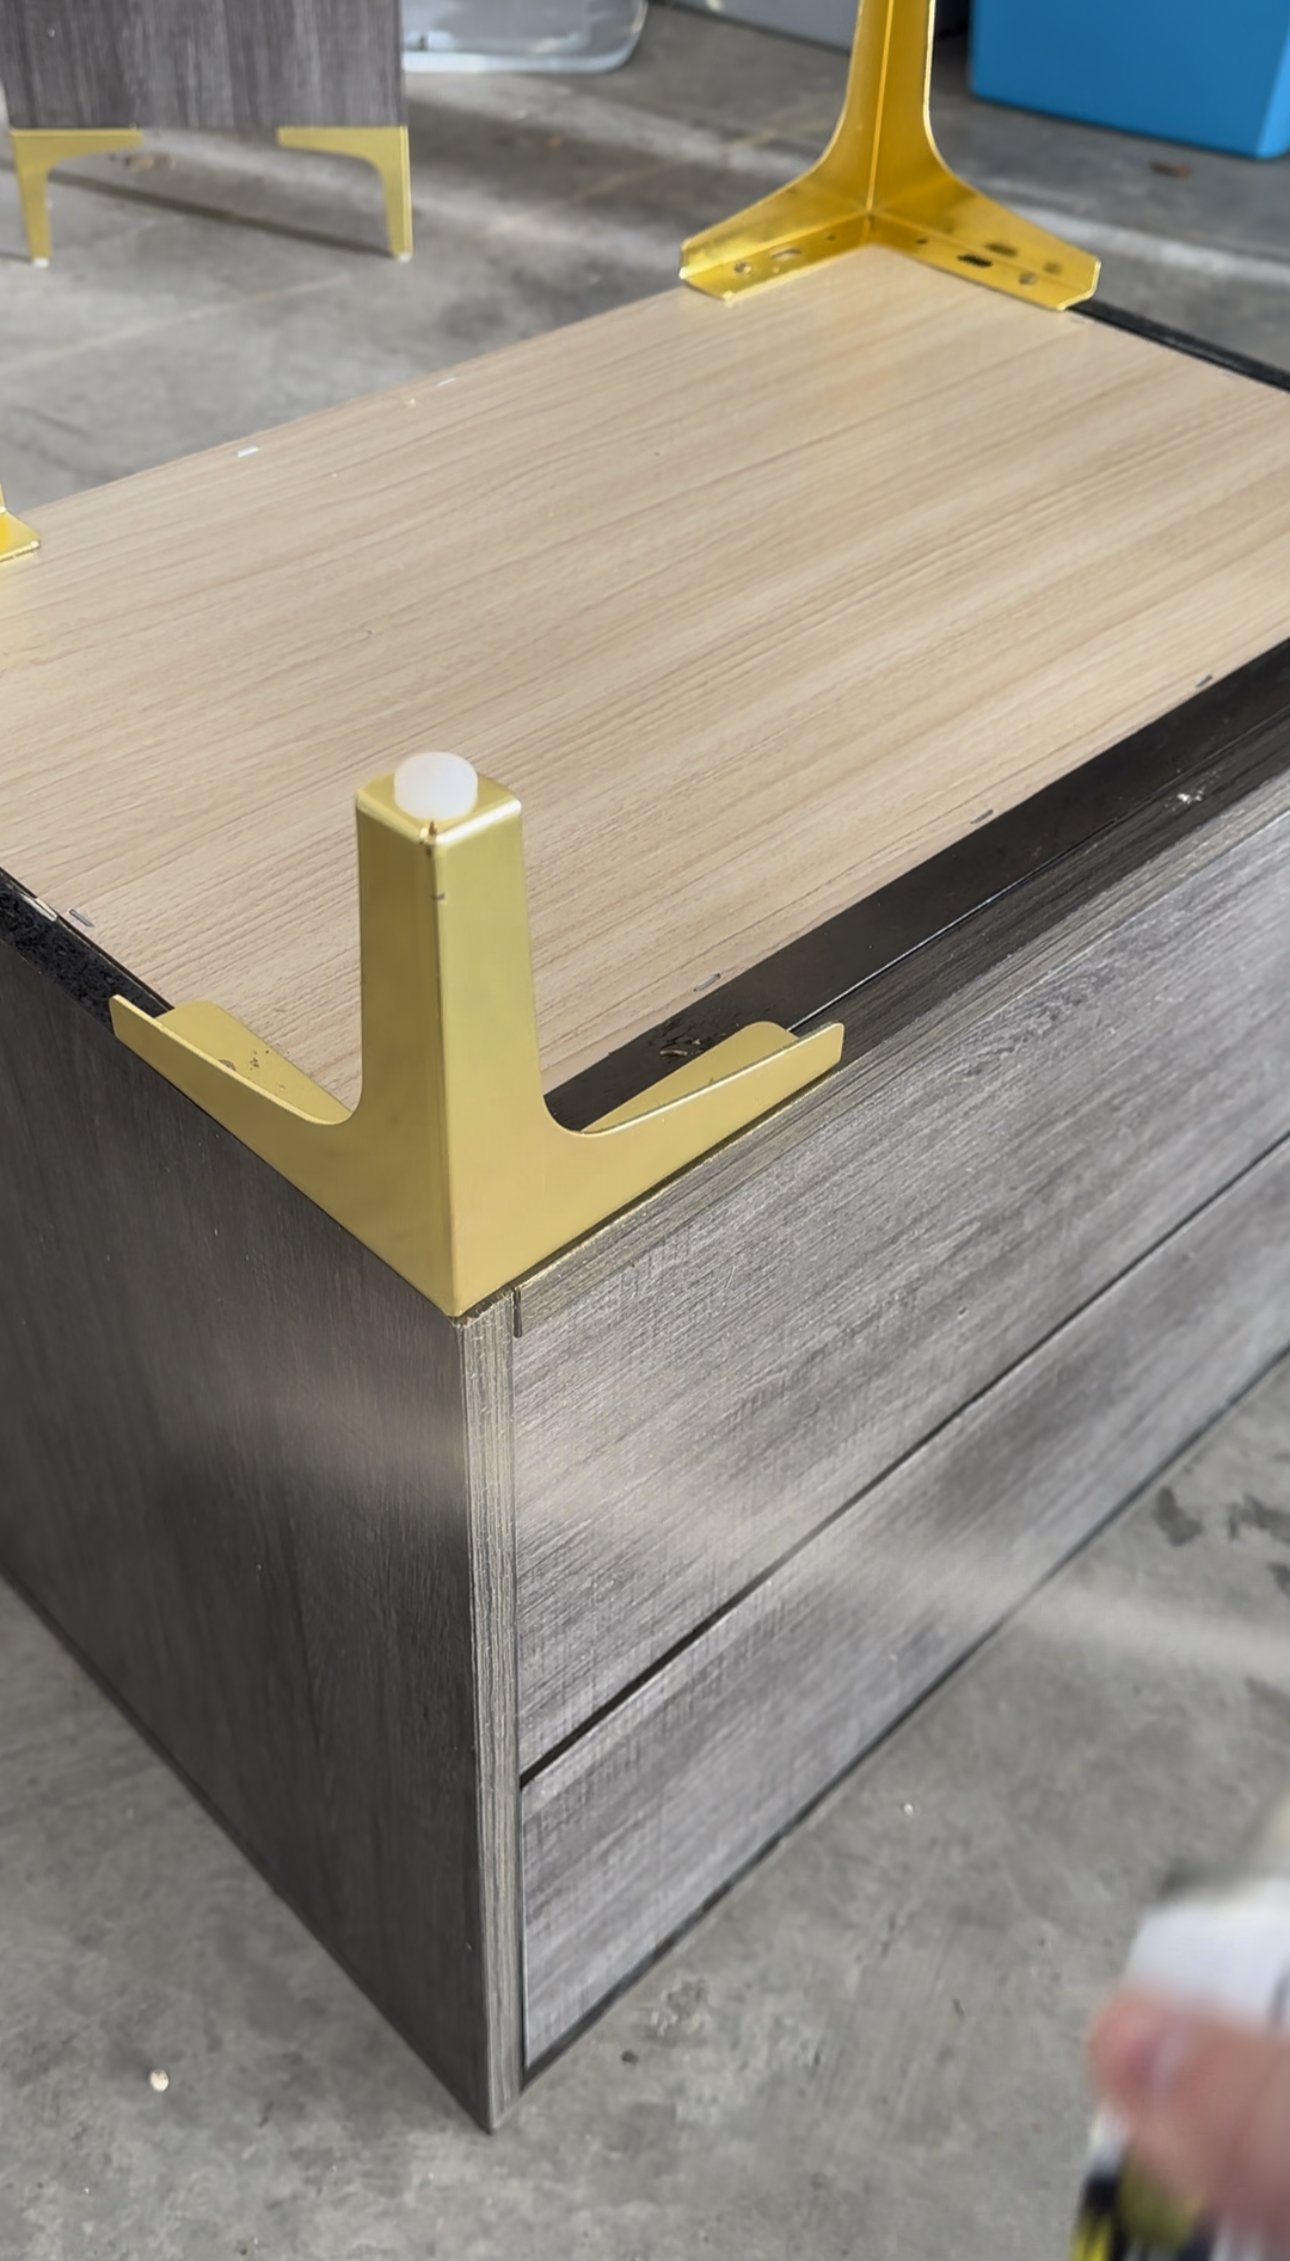
Step 3. I added new, modern peg legs and painted them.
These feet from Amazon are a great bargain, and they’re super cute. However, the gold is blinding and often appears yellow in photos and videos. I used my favorite gold spray paint to give them a prettier color.

Step 4. I filled in the old hardware holes.
If you’re switching handle sizes, hardware locations, or going from knobs to handles, you’ll need to fill in the old holes. I recommend using this wood filler (they are NOT all created equally— trust me). I do it 2-3x (sanding each time it dries) to ensure the surface is perfectly smooth. Otherwise, the old holes will show through the paint.

Step 5. I sanded with a 120 grit.
I used my handy dandy orbital sander (it’s a simple as velcro-ing on a sandpaper sheet, plugging it in, and turning it on). This is the best way to ensure your paint will stick. Yes, you can sand fake wood, too! Nothing about these end tables were real. Once you’re done sanding, give it a deep clean with Krud Kutter!

Step 6. Time to prime and paint.
Because this piece wasn’t real wood, I wanted to ensure the paint would be long-lasting. This primer is one of the best ones for furniture.
I highly, highly recommend using Melange Paints ONE. On this piece, I used Sakura Rose ONE (I randomly chose it from my hoard as part of my Paint Hoard Series). This line includes a built in topcoat and primer. Occasionally you may want to prime or seal for added protection, but it is truly the best furniture paint I’ve found. It’s also American-made and female-owned. Promo code MAGGIE10 saves 10% on all Melange Paint orders!
You can use a brush or a sprayer. If you’re a newbie, stick with a brush. Details on avoiding paint strokes are easily found in my furniture flipping course linked here!

Step 7. Let’s add the hardware.
I marked the new holes and screwed in the new handles. These handles are from Amazon added the perfect touch, and they fit over the lip of the drawer. They will make any piece look modern and high end.
Step 8. Jump for joy and (maybe) make some cash.
Whether I choose to keep or sell these end tables, I truly enjoyed the challenge and process of giving them a new look and a new life. It proves you can make any outdated furniture look beautiful again; it doesn’t matter if it’s made of real wood or manufactured wood like these.
I hope this blog (and these photos) inspire your next project. If you’re ready to take your furniture makeover skills to the next level, take a look at this course I created. It includes lifetime access, a FB group with thousands of members, and lessons on every step of the process!