How To Hide Your Printer
I recently began challenging myself to remove all of the eyesores in my home. I started with the big, square ceiling vent in my home. You can watch that video here. Next up was hiding my husband’s PS5. I chopped up some old books to accomplish this— click here to see that project.
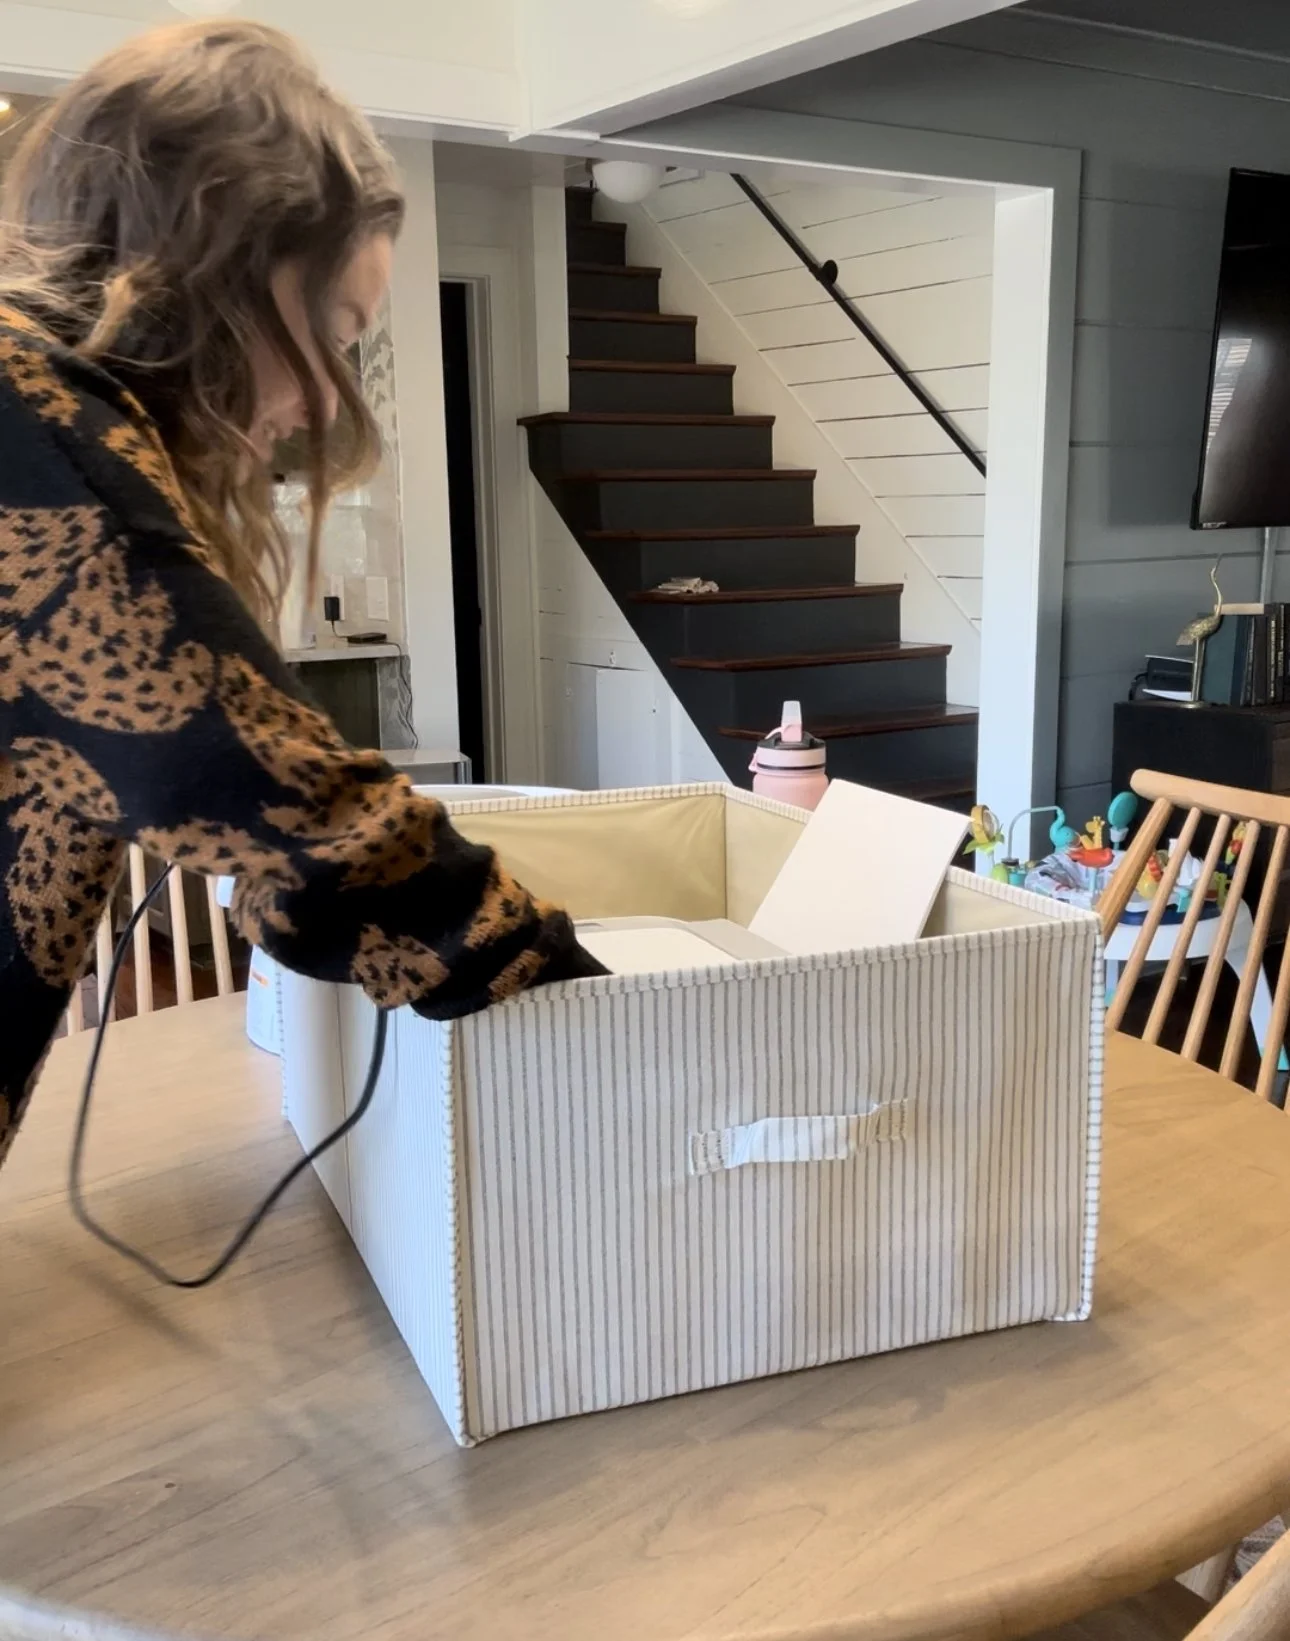
I decided to tackle something I’ve never seen done before… hiding my bulky printer. The cords and paper tray hanging out drove me crazy, and I struggled to find somewhere to put it that was both accessible and hidden. I’d seen another DIYer make a woven basket, but I didn’t love the darkness and potential ability to see the printer inside. Let’s take a look at what I did to take my printer from this to this:

Here’s a link to everything I used in this project. I highly recommend using the same box I used. I can’t guarantee the materials, size, or quality of other boxes will work for this project.
This article contains affiliate links, but was not sponsored in any way.
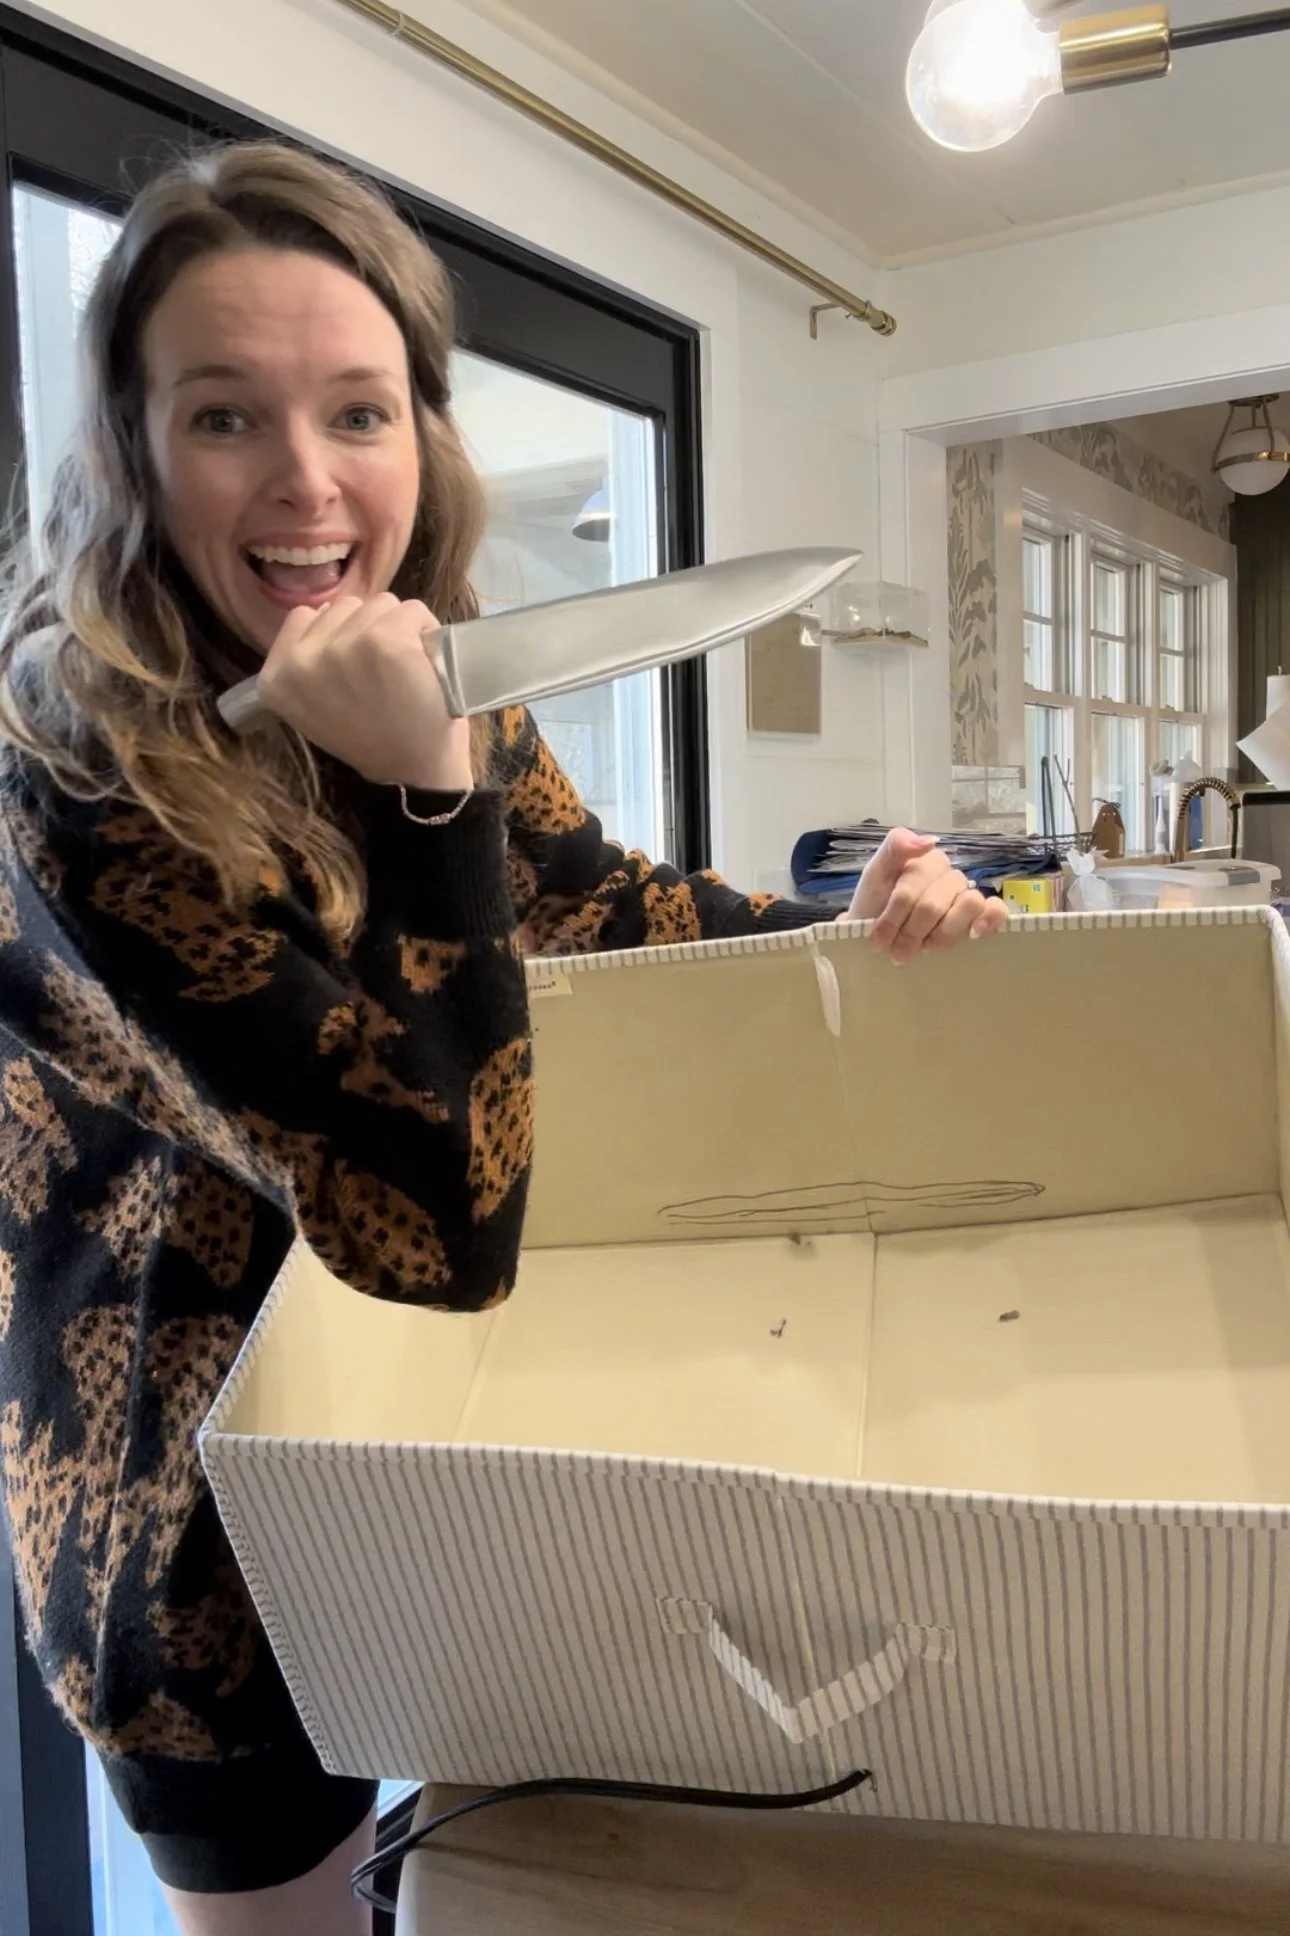
Step 1. Find a box.
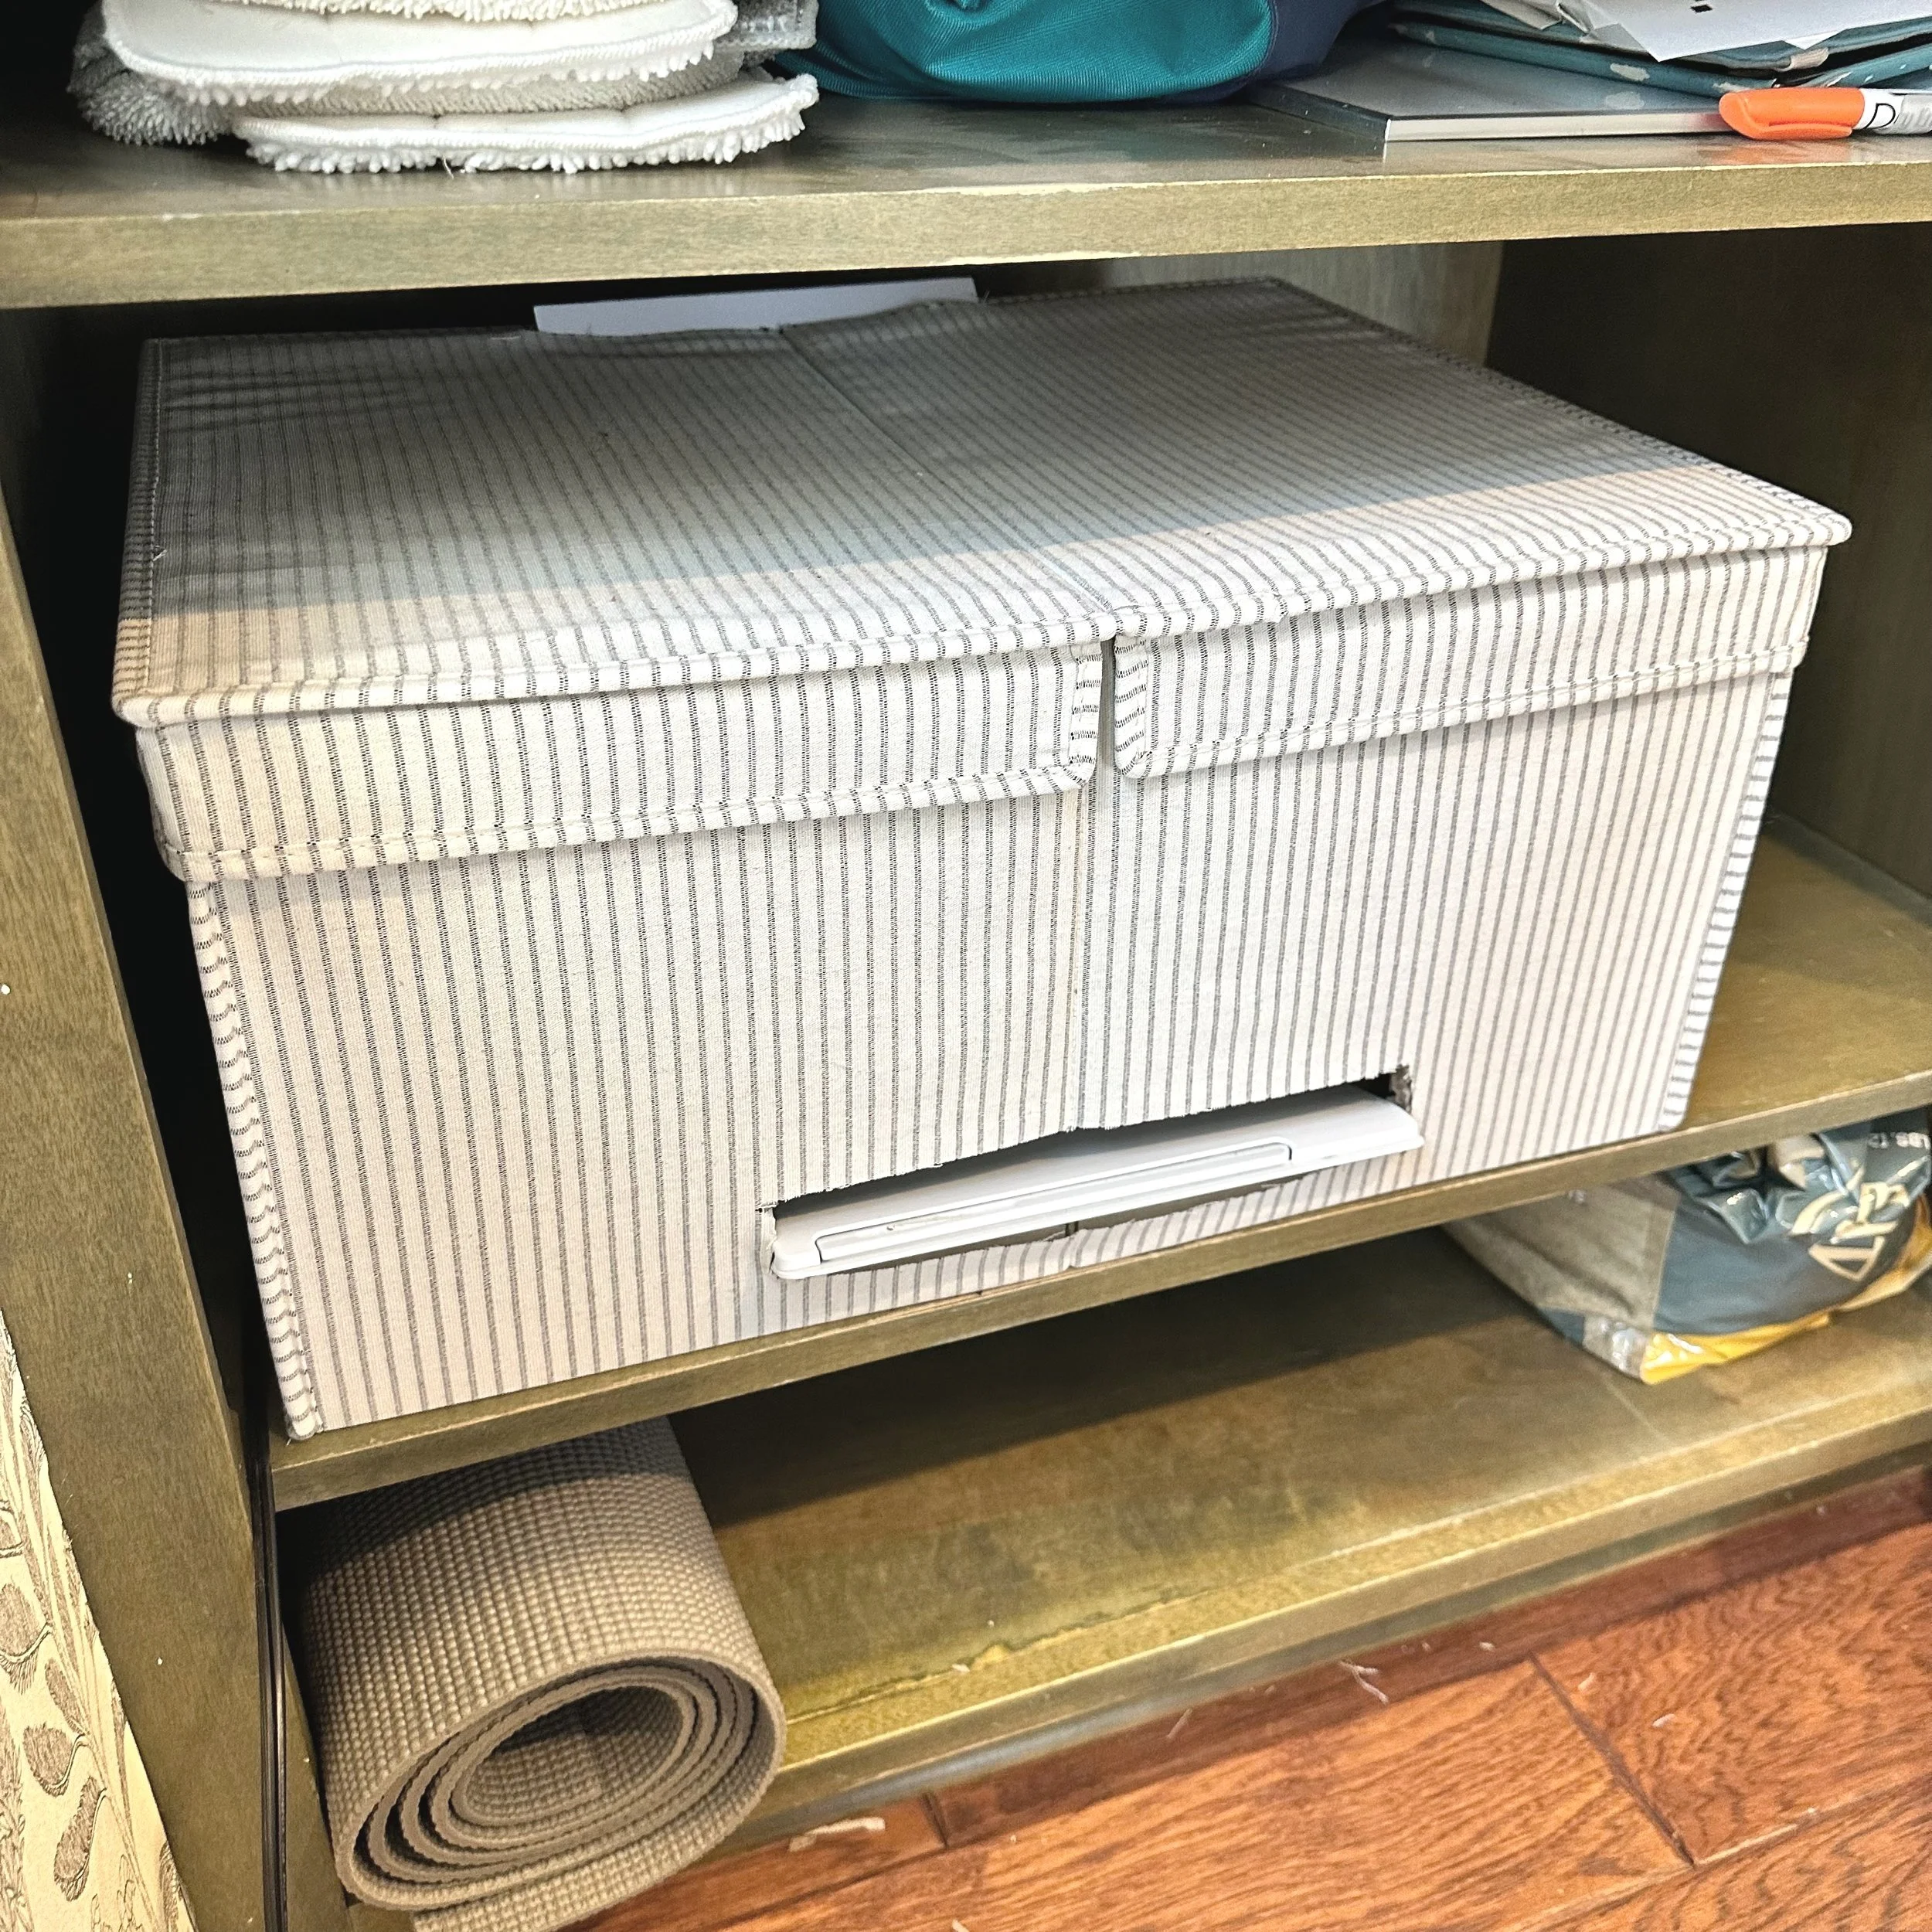
I tried thrifting one, but weeks with by with no luck. I eventually spent hours searching Amazon, Walmart, and even Facebook Marketplace hoping to find the right sized box. Printers are awkwardly shaped, so most boxes were far too small or expensive. I eventually found this one on Amazon. It was made of fabric and cardboard with a removable divider— perfect for what I needed.
Step 2. Mark inside the box where you need to cut.
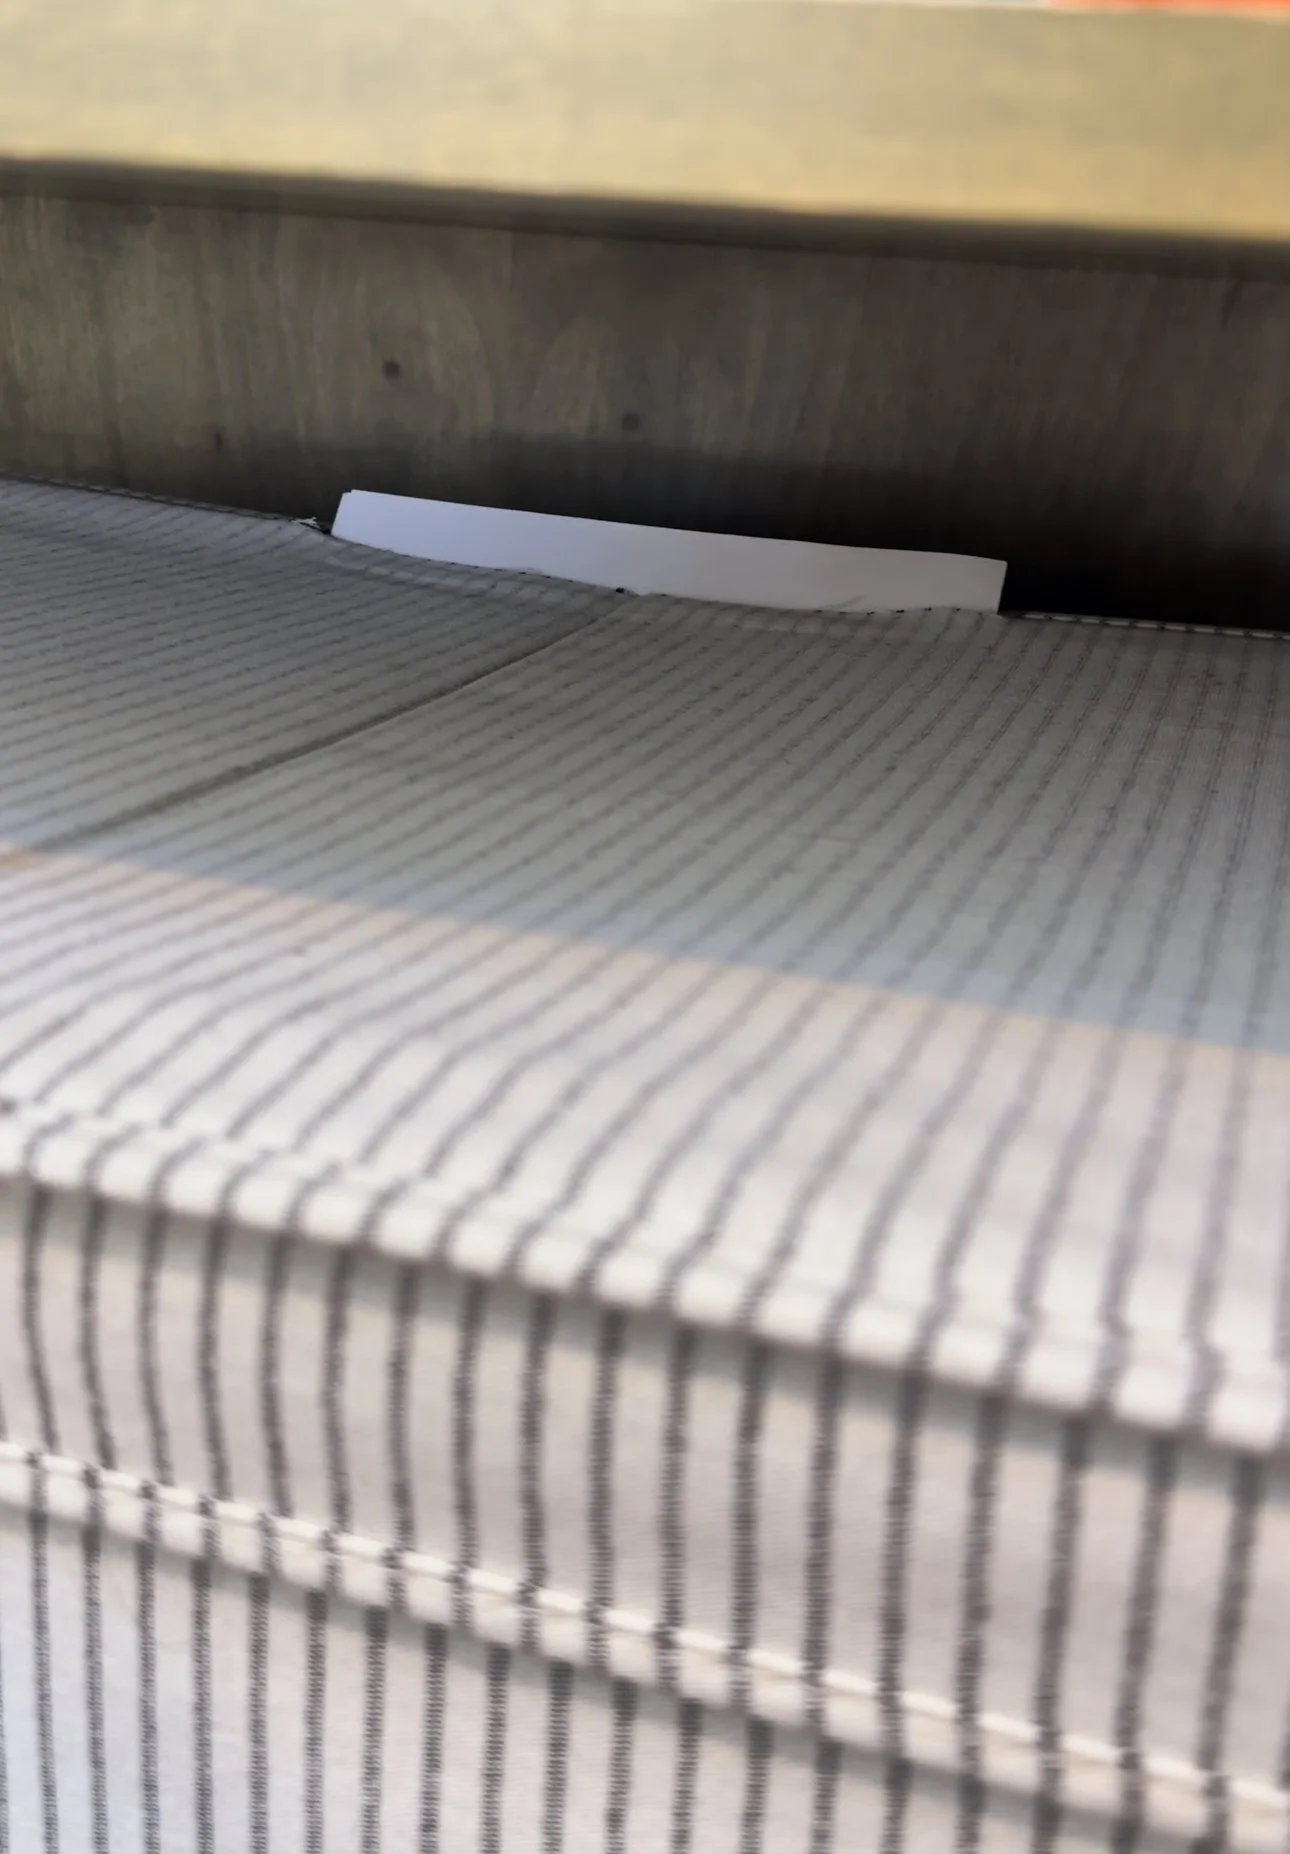
I made a hole in the back for the cord, the front for the printed paper, and the top (in the lid) for the stack of paper and refills.
Depending on your printer, you may need to change how many holes you cut and where. You can measure or wing it. If you’re a perfectionist, measure twice and cut once.
I recommend drawing the lines on the inside so the ink doesn’t bleed onto fabric you’re keeping.
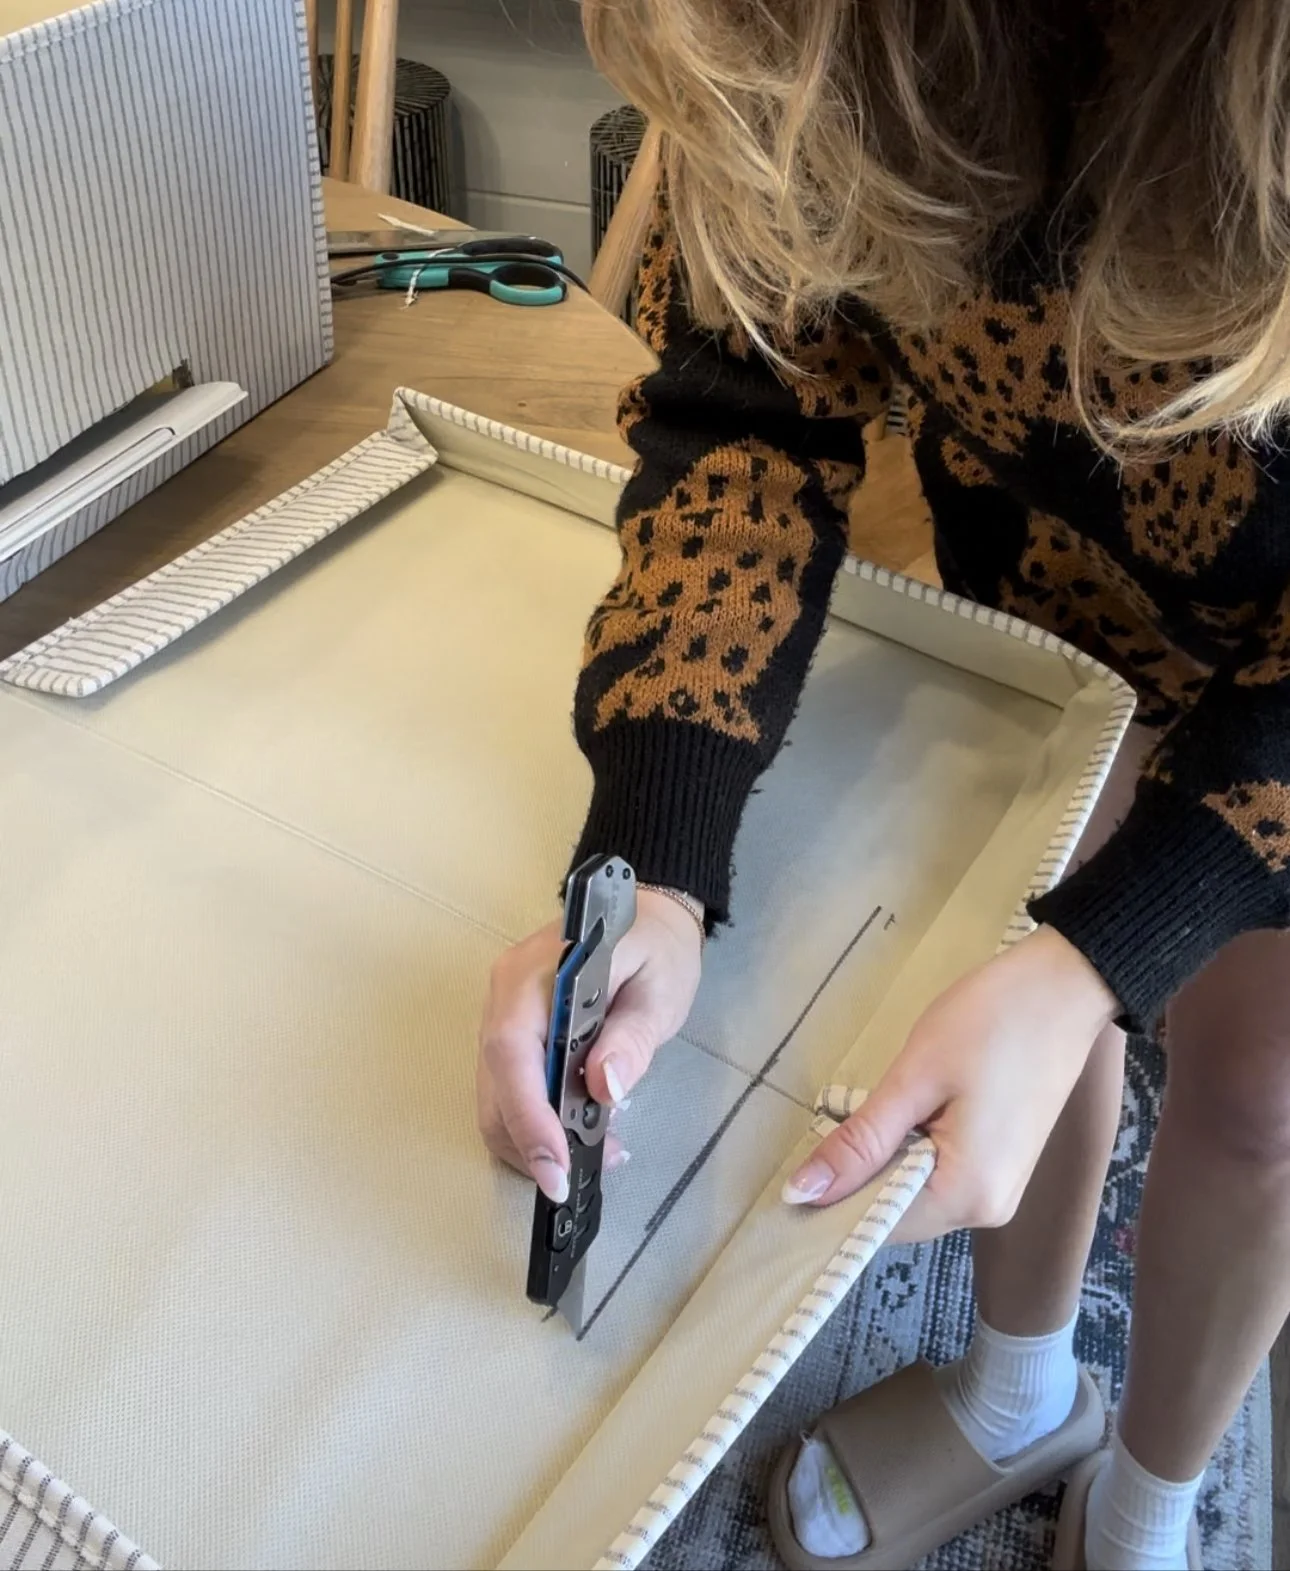
Step 3. Cut, cut, cut.
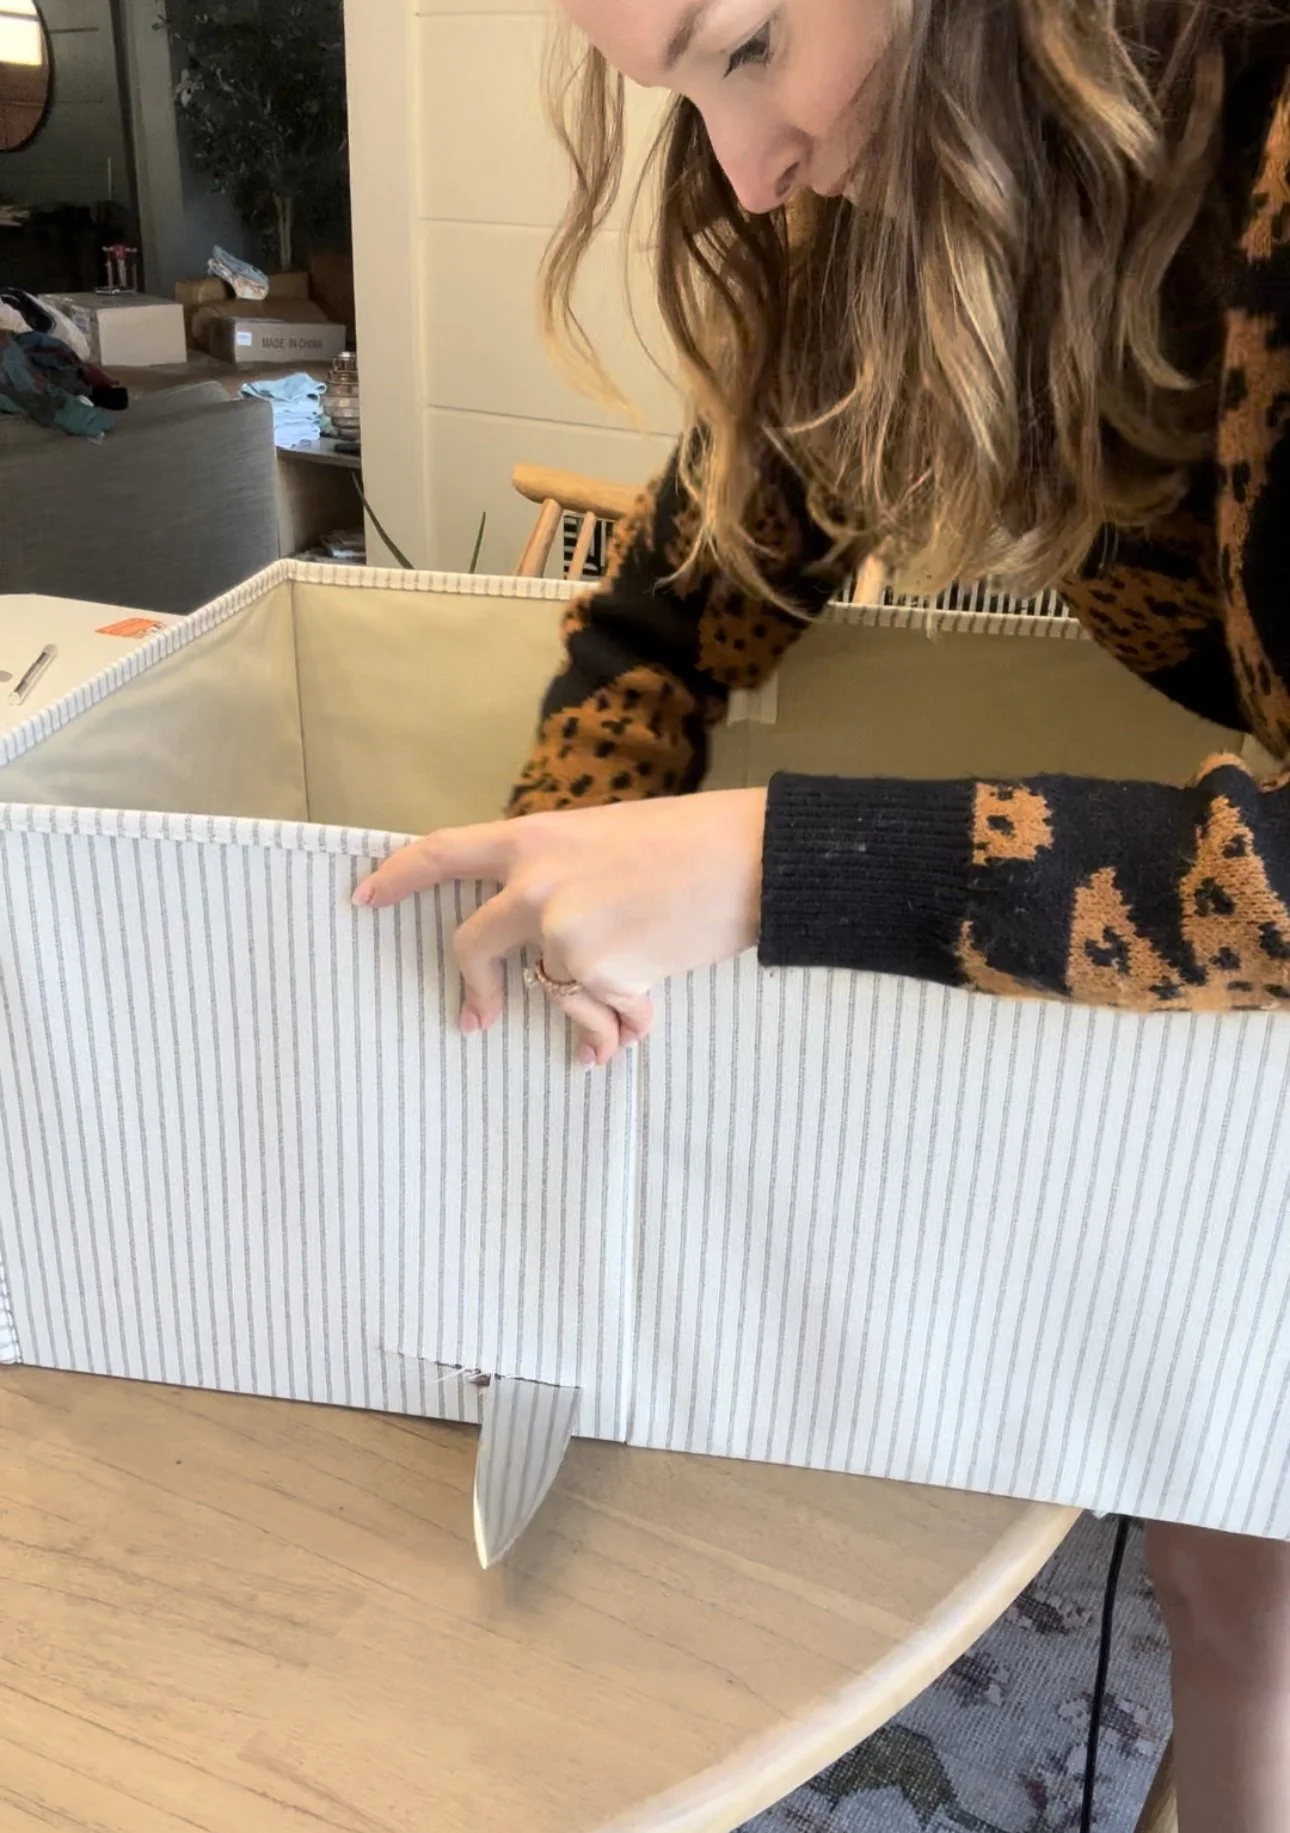
Cue the horror music.
I started with a small razor which was perfect for the cord hole. However, the cardboard was thick and the fabric was stubborn, so I needed something more powerful for the larger cuts.
I considered grabbing a power tool, but I didn’t want to snag the corner or cut too quickly and make a mistake. I ended up using a combo of scissors and giant kitchen knife. Be careful, folks. Knives are sharp and humans are impatient. Take your time, but I noticed it was cutting very smoothly and wasn’t too hard to keep the lines straight.
It may take a few times of putting the printer in to widen or straighten holes.
Step 4. Add (or leave) some cool features.

Fortunately, the box I used included handles on 3 of the 4 sides. If your box doesn’t, you may want to add them for easy transport.
Also consider ventilation. My printer cuts off automatically after printing, but you may want to leave yours with the lid off or add some more ventilation holes to the back where it isn’t visible. You could also add a pocket for extra paper or writing utensils.
Eventually, I may add a pocket for extra ink.
Step 5. Enjoy!

I’m so proud of this DIY project, and I highly recommend you give it a shot! Find any container that fits the printer and add holes for the tray, paper, and cord. In just minutes, your printer will be concealed, sleek, and modern.
When you need to add new paper, scan something, change out the ink, etc., just take off the lid and have at it.
With the printer looking this sleek, you can proudly put it anywhere on your home— even on display. Whether your printer is in your office, living room, bedroom, closet, or even your kitchen, this project will take it from eyesore to accent piece.
What eyesore should I tackle next? I’m thinking my router/modem…
I hope this blog (and these photos) inspire your next project. If you’re ready to take your furniture makeover skills and home projects to the next level (on a budget), follow me on Instagram.