How To Make Your Garden Hose and Spigot Look Fancy
I recently began challenging myself to remove all of the eyesores in my home. While my garden hose and faucet aren’t inside my home, they are quite the eyesore. From the tacky hose color to the rustic look, it just doesn’t vibe with my home.
I found a gorgeous antler hose holder that cost over $200 with the hose! Can you believe that?! Hard pass. Instead, I opted to DIY my own to upgrade my home exterior. It took less than 20 minutes from start to finish. The most annoying part of the process was just waiting for the deliveries!
Here’s how it turned out:

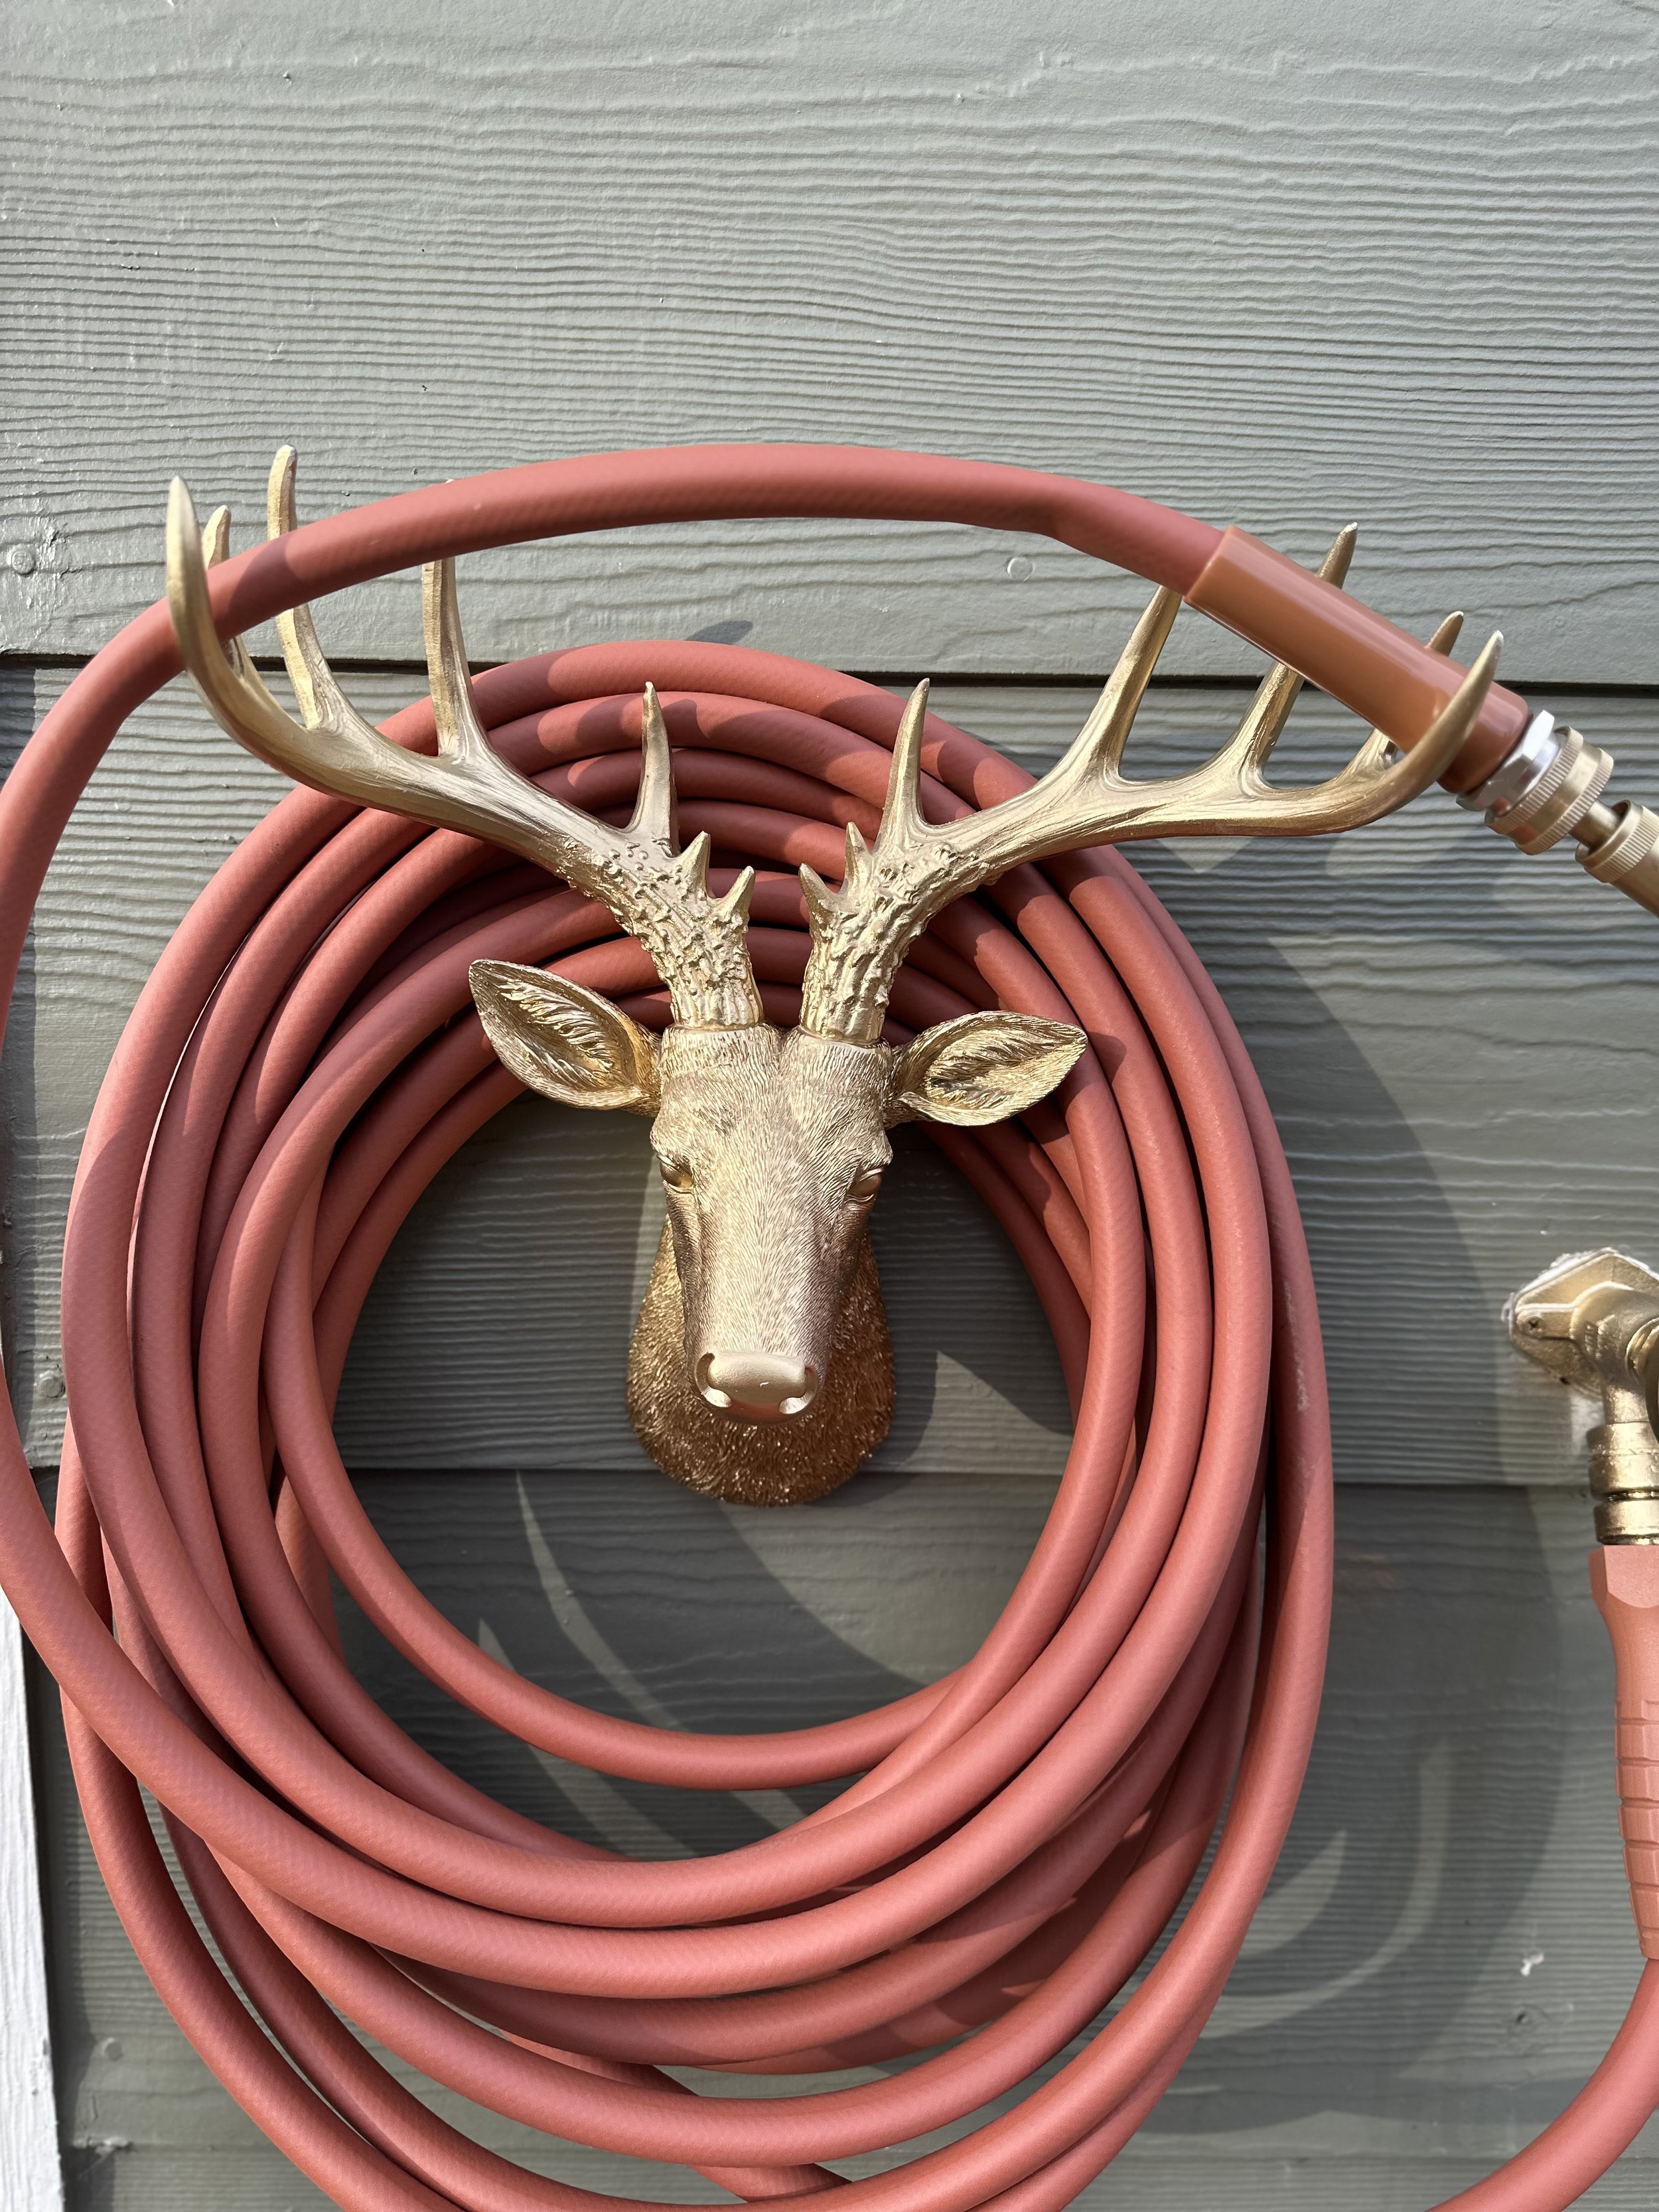
Now, let’s take a look at how YOU can upgrade your garden hose spigot to be modern and chic in just a few affordable steps.
This article contains affiliate links, but was not sponsored in any way. I paid full price for all items.
Step 1. Order your materials.
The cool part about this project is you don’t HAVE to use a deer head. Just antlers would work. If you want to get even more creative, any wall mounted decor with a big enough distance from the wall (for the hose to fit) will work. Maybe some pretty brass flowers, a cute small shovel, etc.
Just make sure whatever you buy will hold up outdoors.
Here’s what you need to buy:
Gold spray paint (my favorite brand)
Gold hose tip (optional)
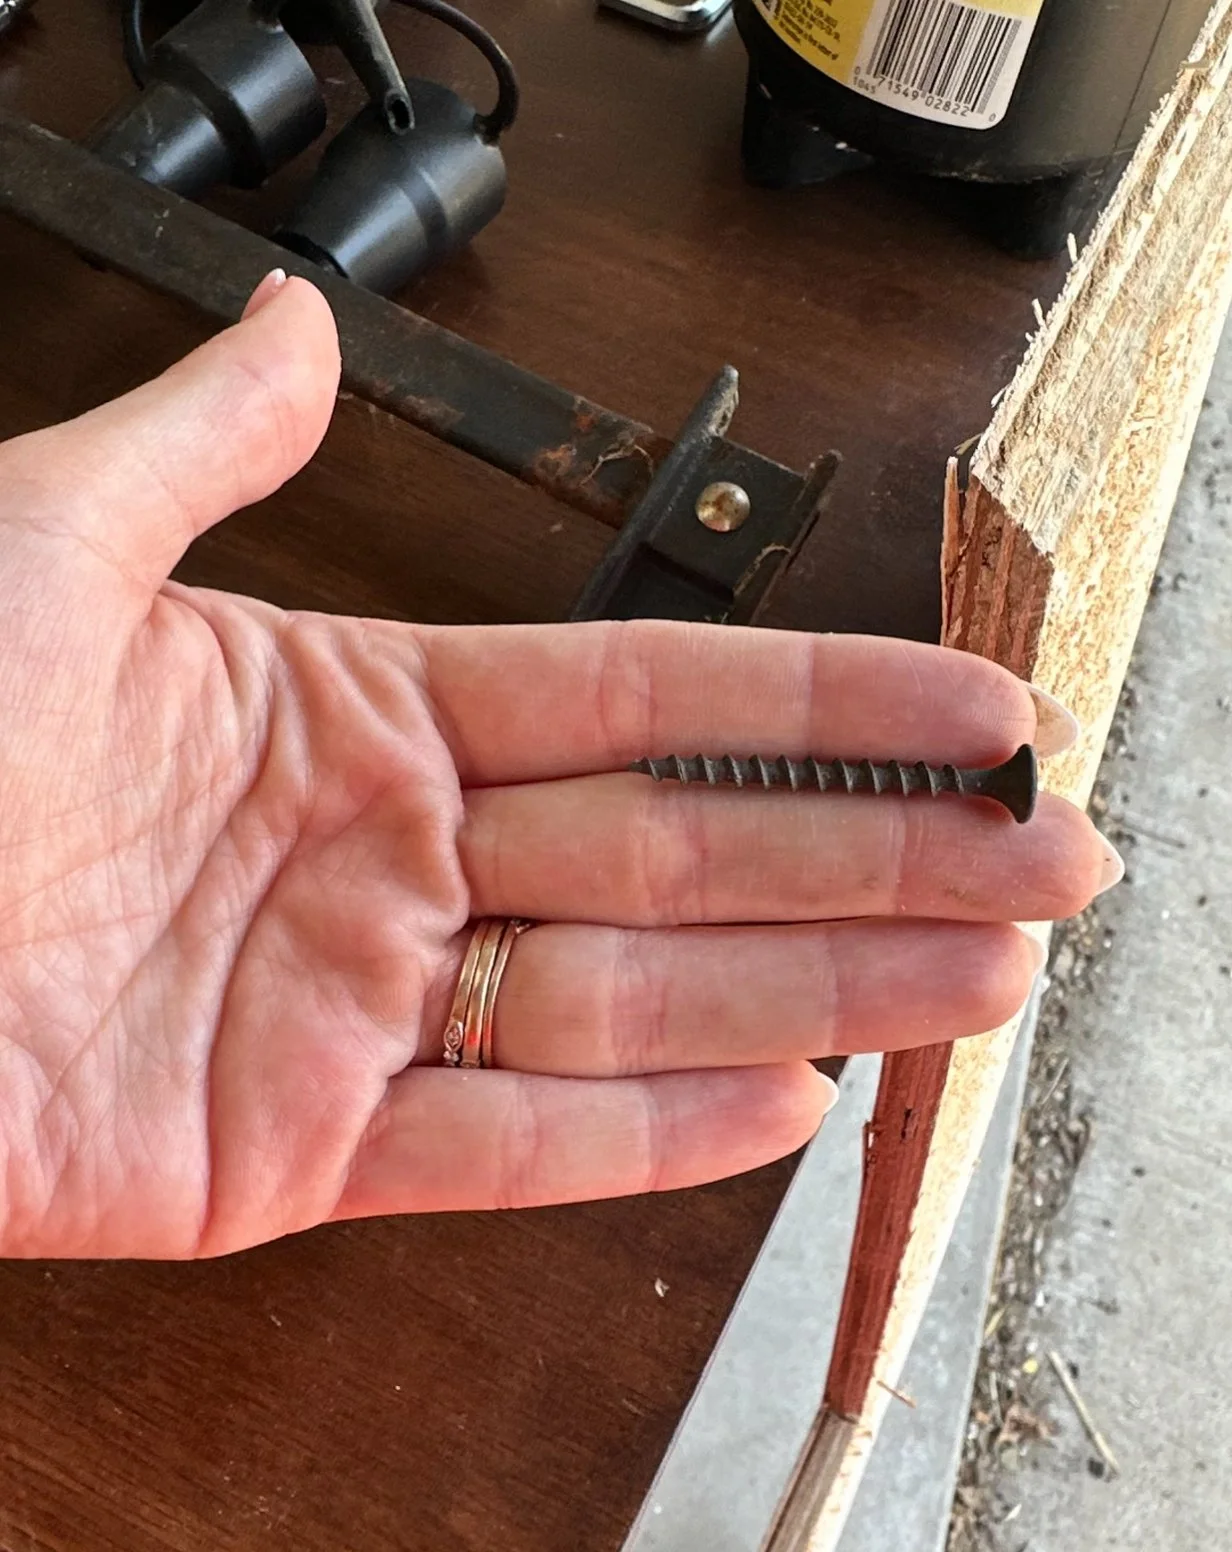
Screw for mounting
Step 2. Tape and spray paint the spigot.
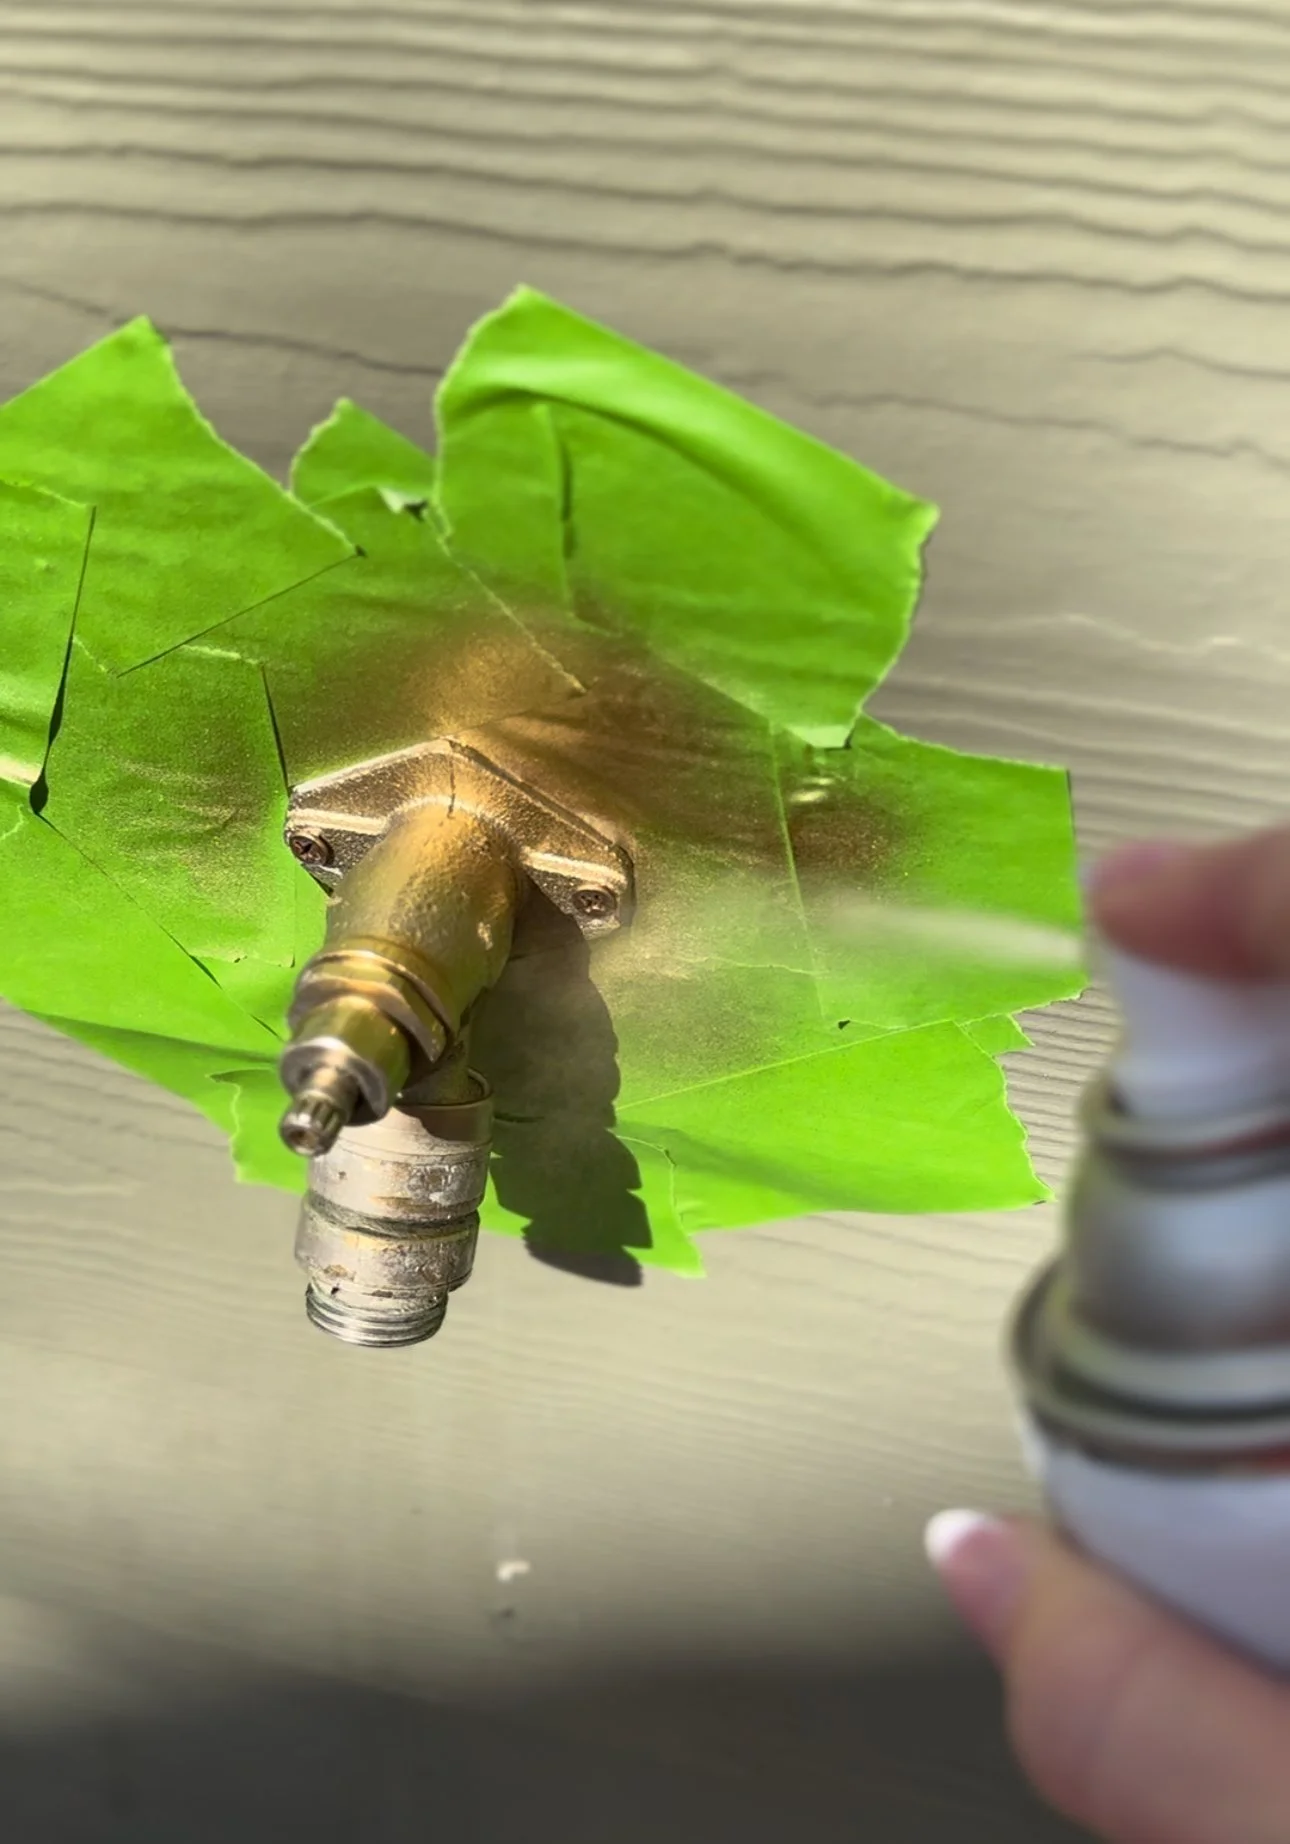
No need to buy an entirely new spigot. To be honest, those seem like a nightmare to replace anyways. I just taped around my faucet with painters’ tape and use my favorite gold spray paint.
Keep in mind, this may not last forever. However, I’m gentle with mine and I’m okay with doing occasional touch ups. You can seal it with an outdoor topcoat if desired to extend the life of the spray paint.
Step 3. Spray paint the deer head and antlers.
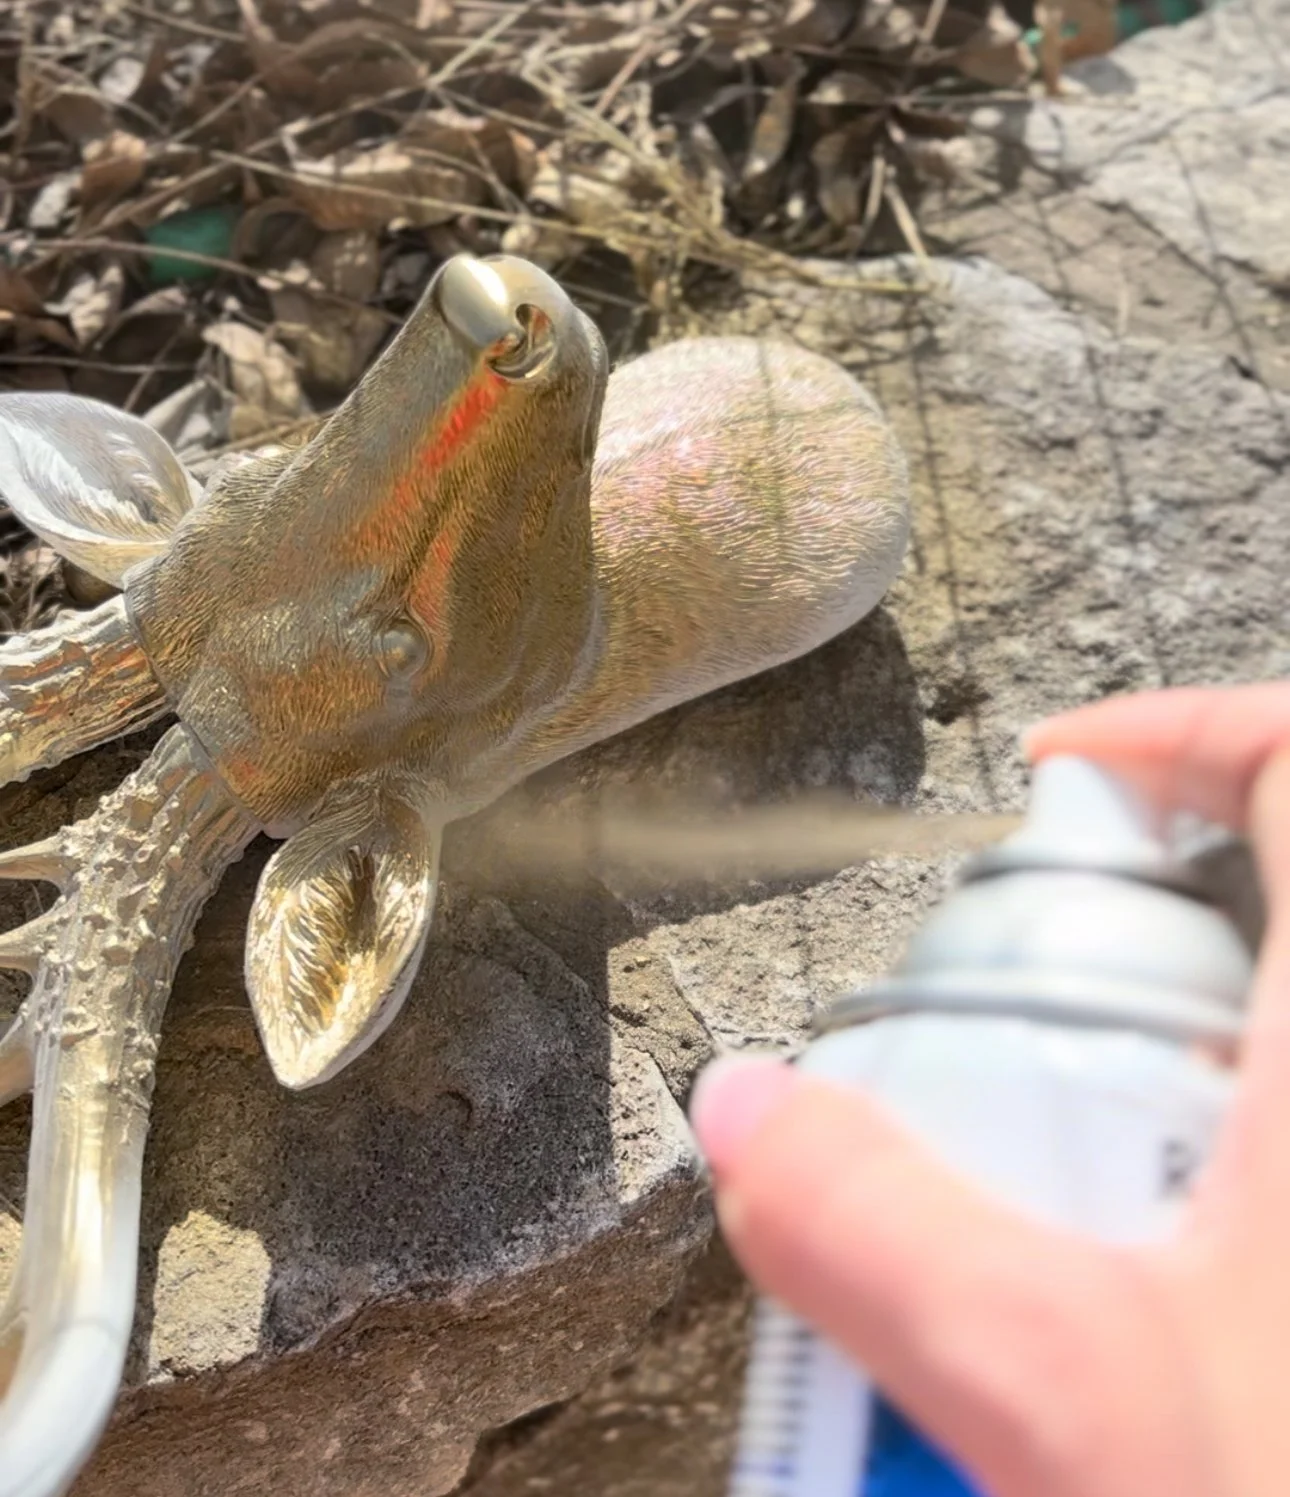
I can’t speak to all deer heads out there, but the one I ordered doesn’t need to be sanded.
Just use the same spray paint as you used on the spigot (otherwise the shades of gold may clash) and give it time to dry. Remember to rotate the deer head and do multiple coats. Consider the different angles (above, both sides) that you may be able to see missed spots.
Step 4. Mount the deer head.
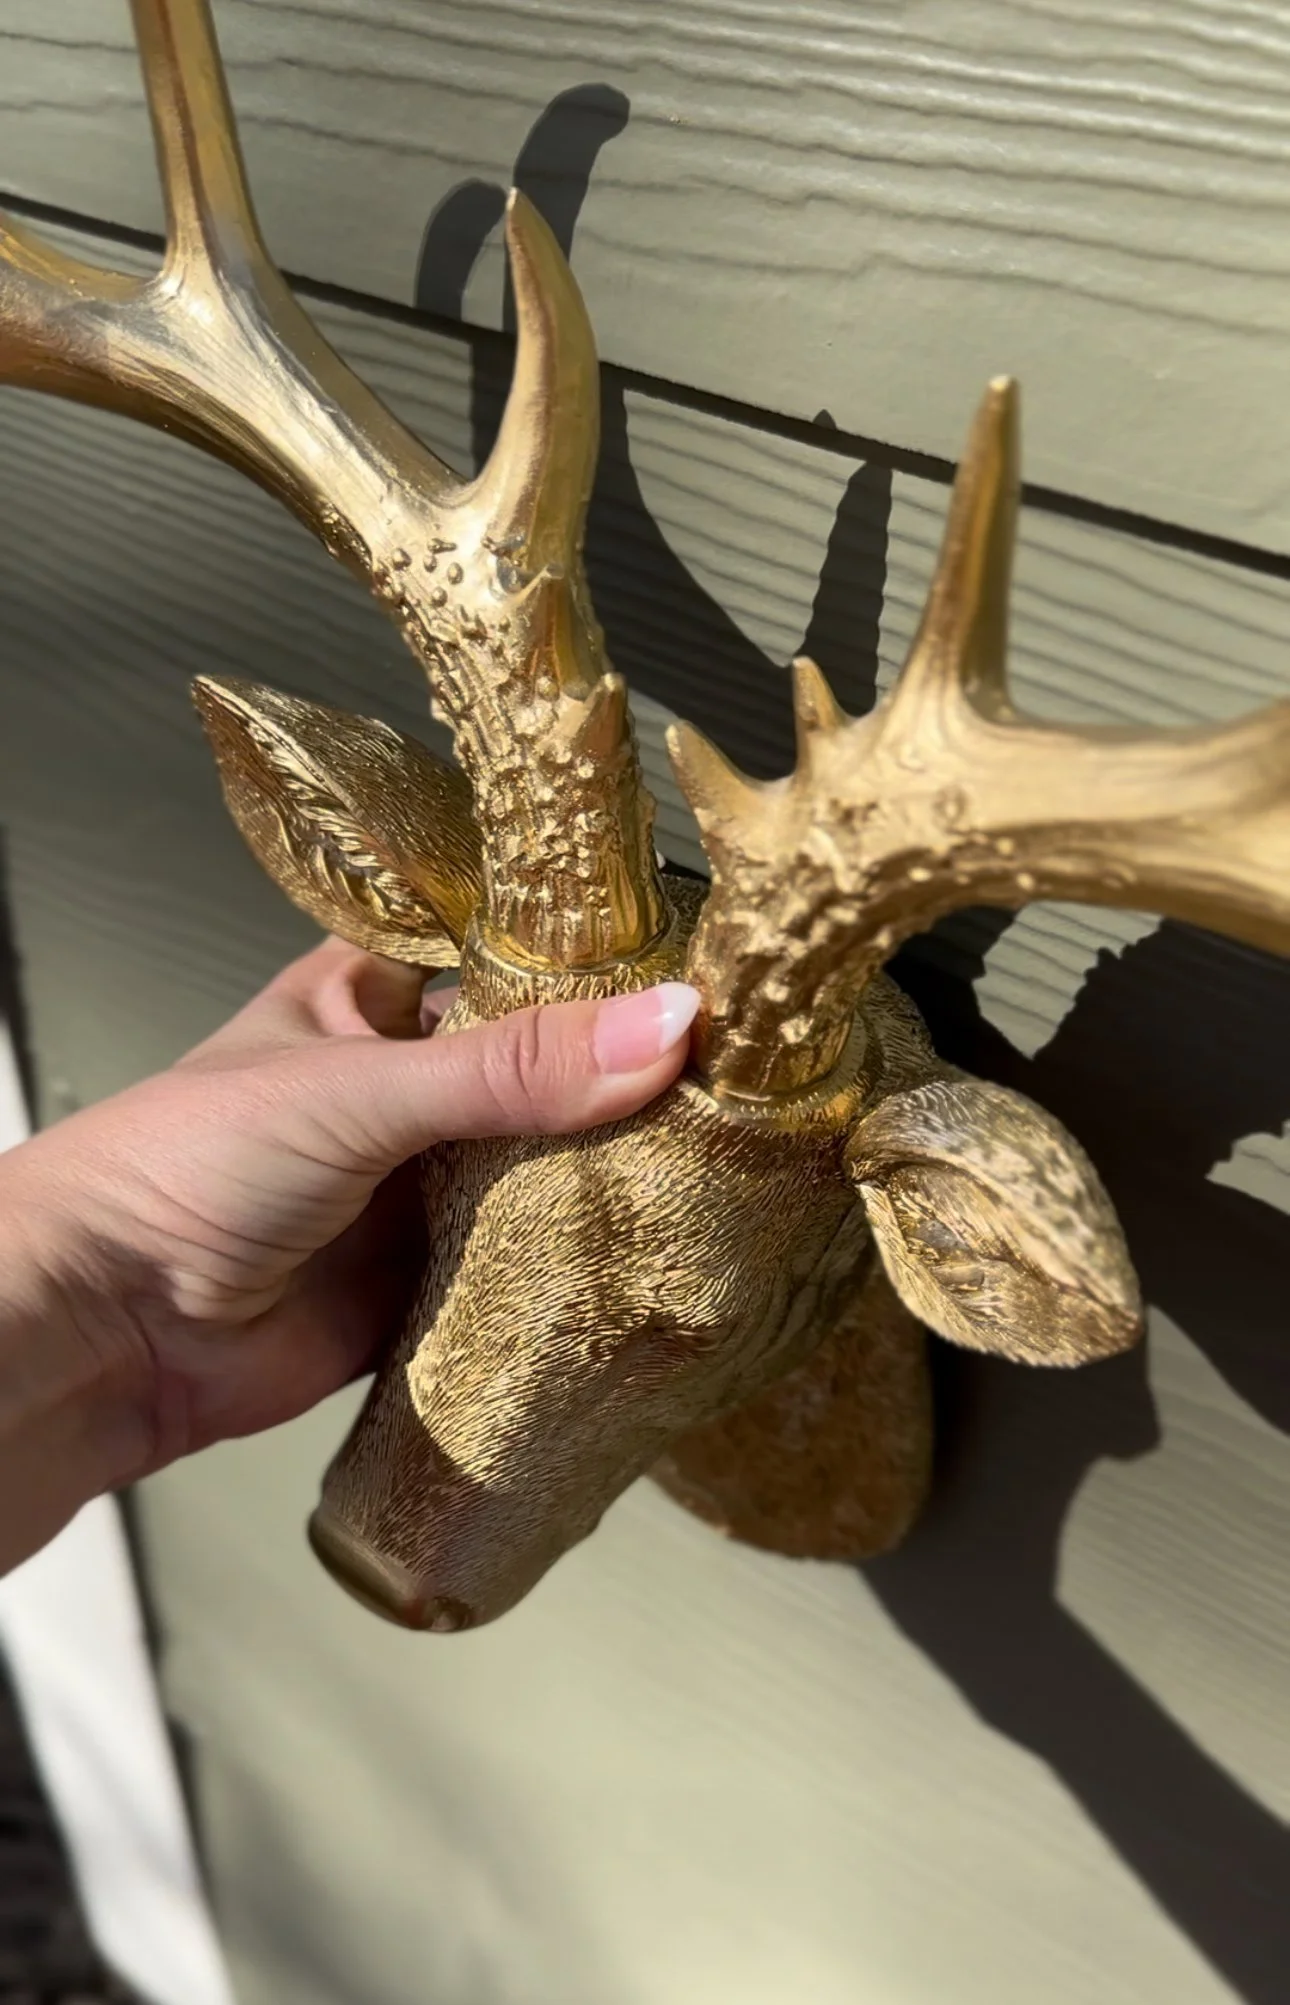
You can decide how far from the spigot you want to mount the head. I gave it about a foot, but you can do it on an entirely different wall if you’re using it for storage.
The antlers have a hole for mounting with a screw, so your job will be much easier. Just use a screw on wood or vinyl exteriors. If you have brick (or something similar) you may need a drill bit intended for brick and concrete.
If you want it to be permanent, you can use liquid nails… but I’m way too indecisive for such permanent decor.
Step 5. Switch out your hose.
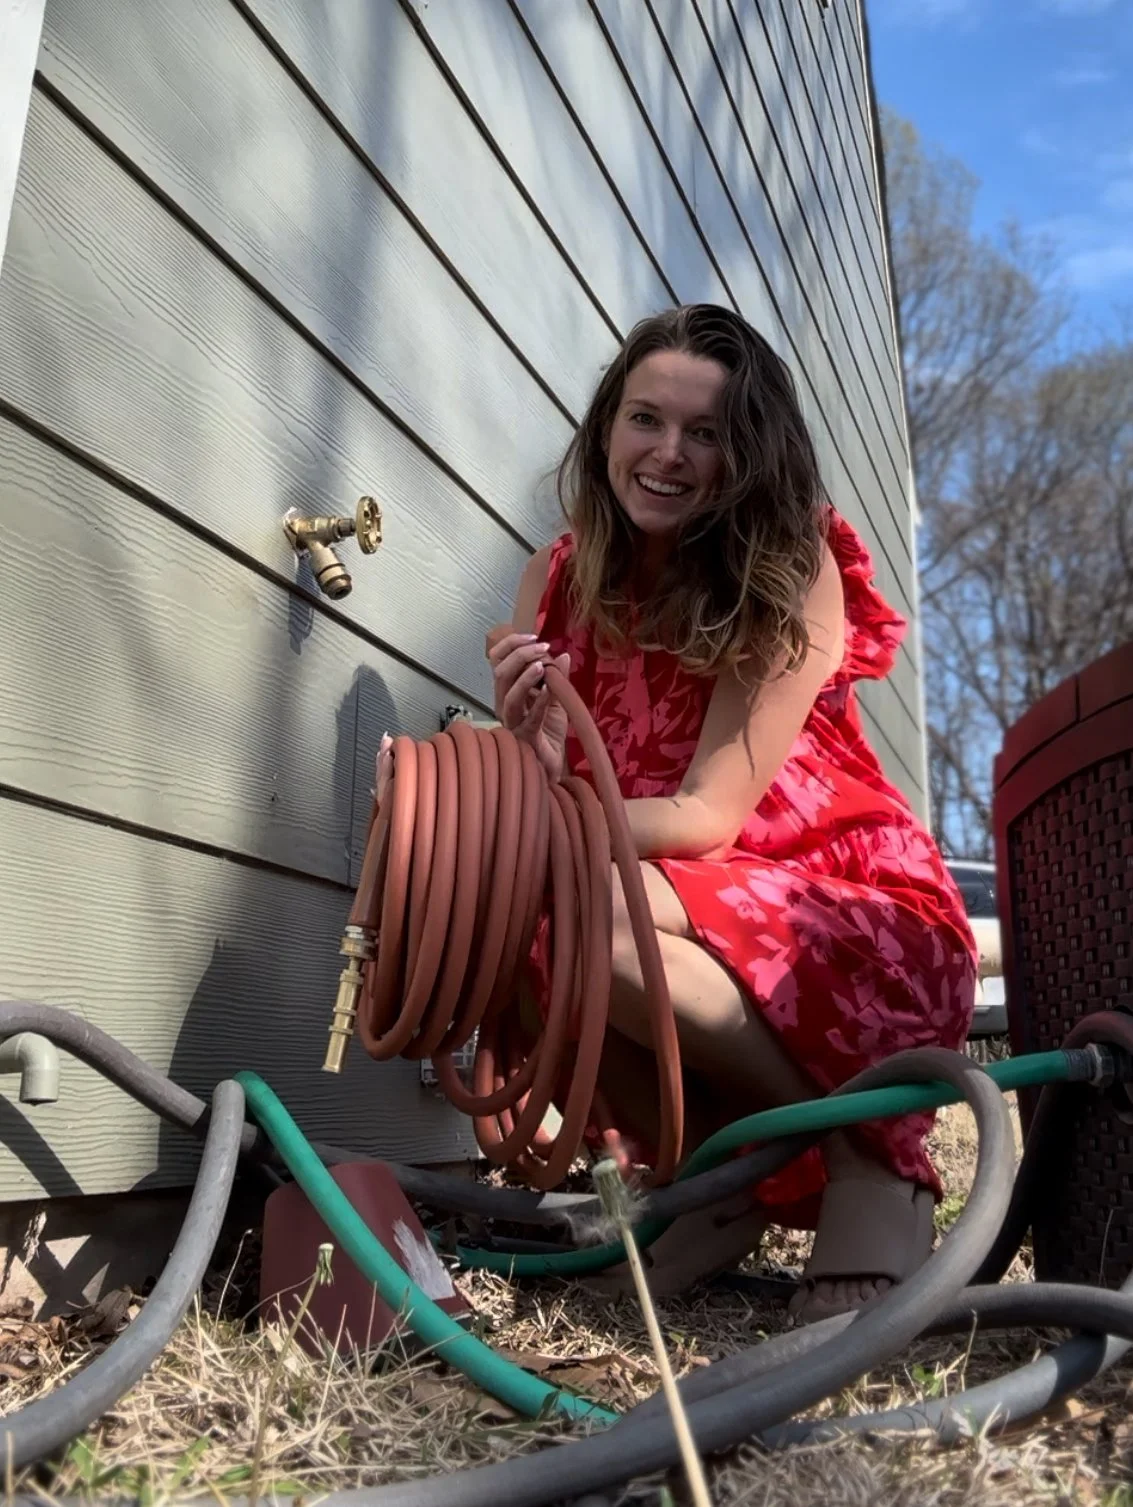
If you already love your garden hose, skip this step. However, I wanted the color to flow well with the gold deer head. Green wasn’t cutting it for me.
I ordered this trendy hose from Walmart, and I’m tempted to order 5 more. They’re beautiful!
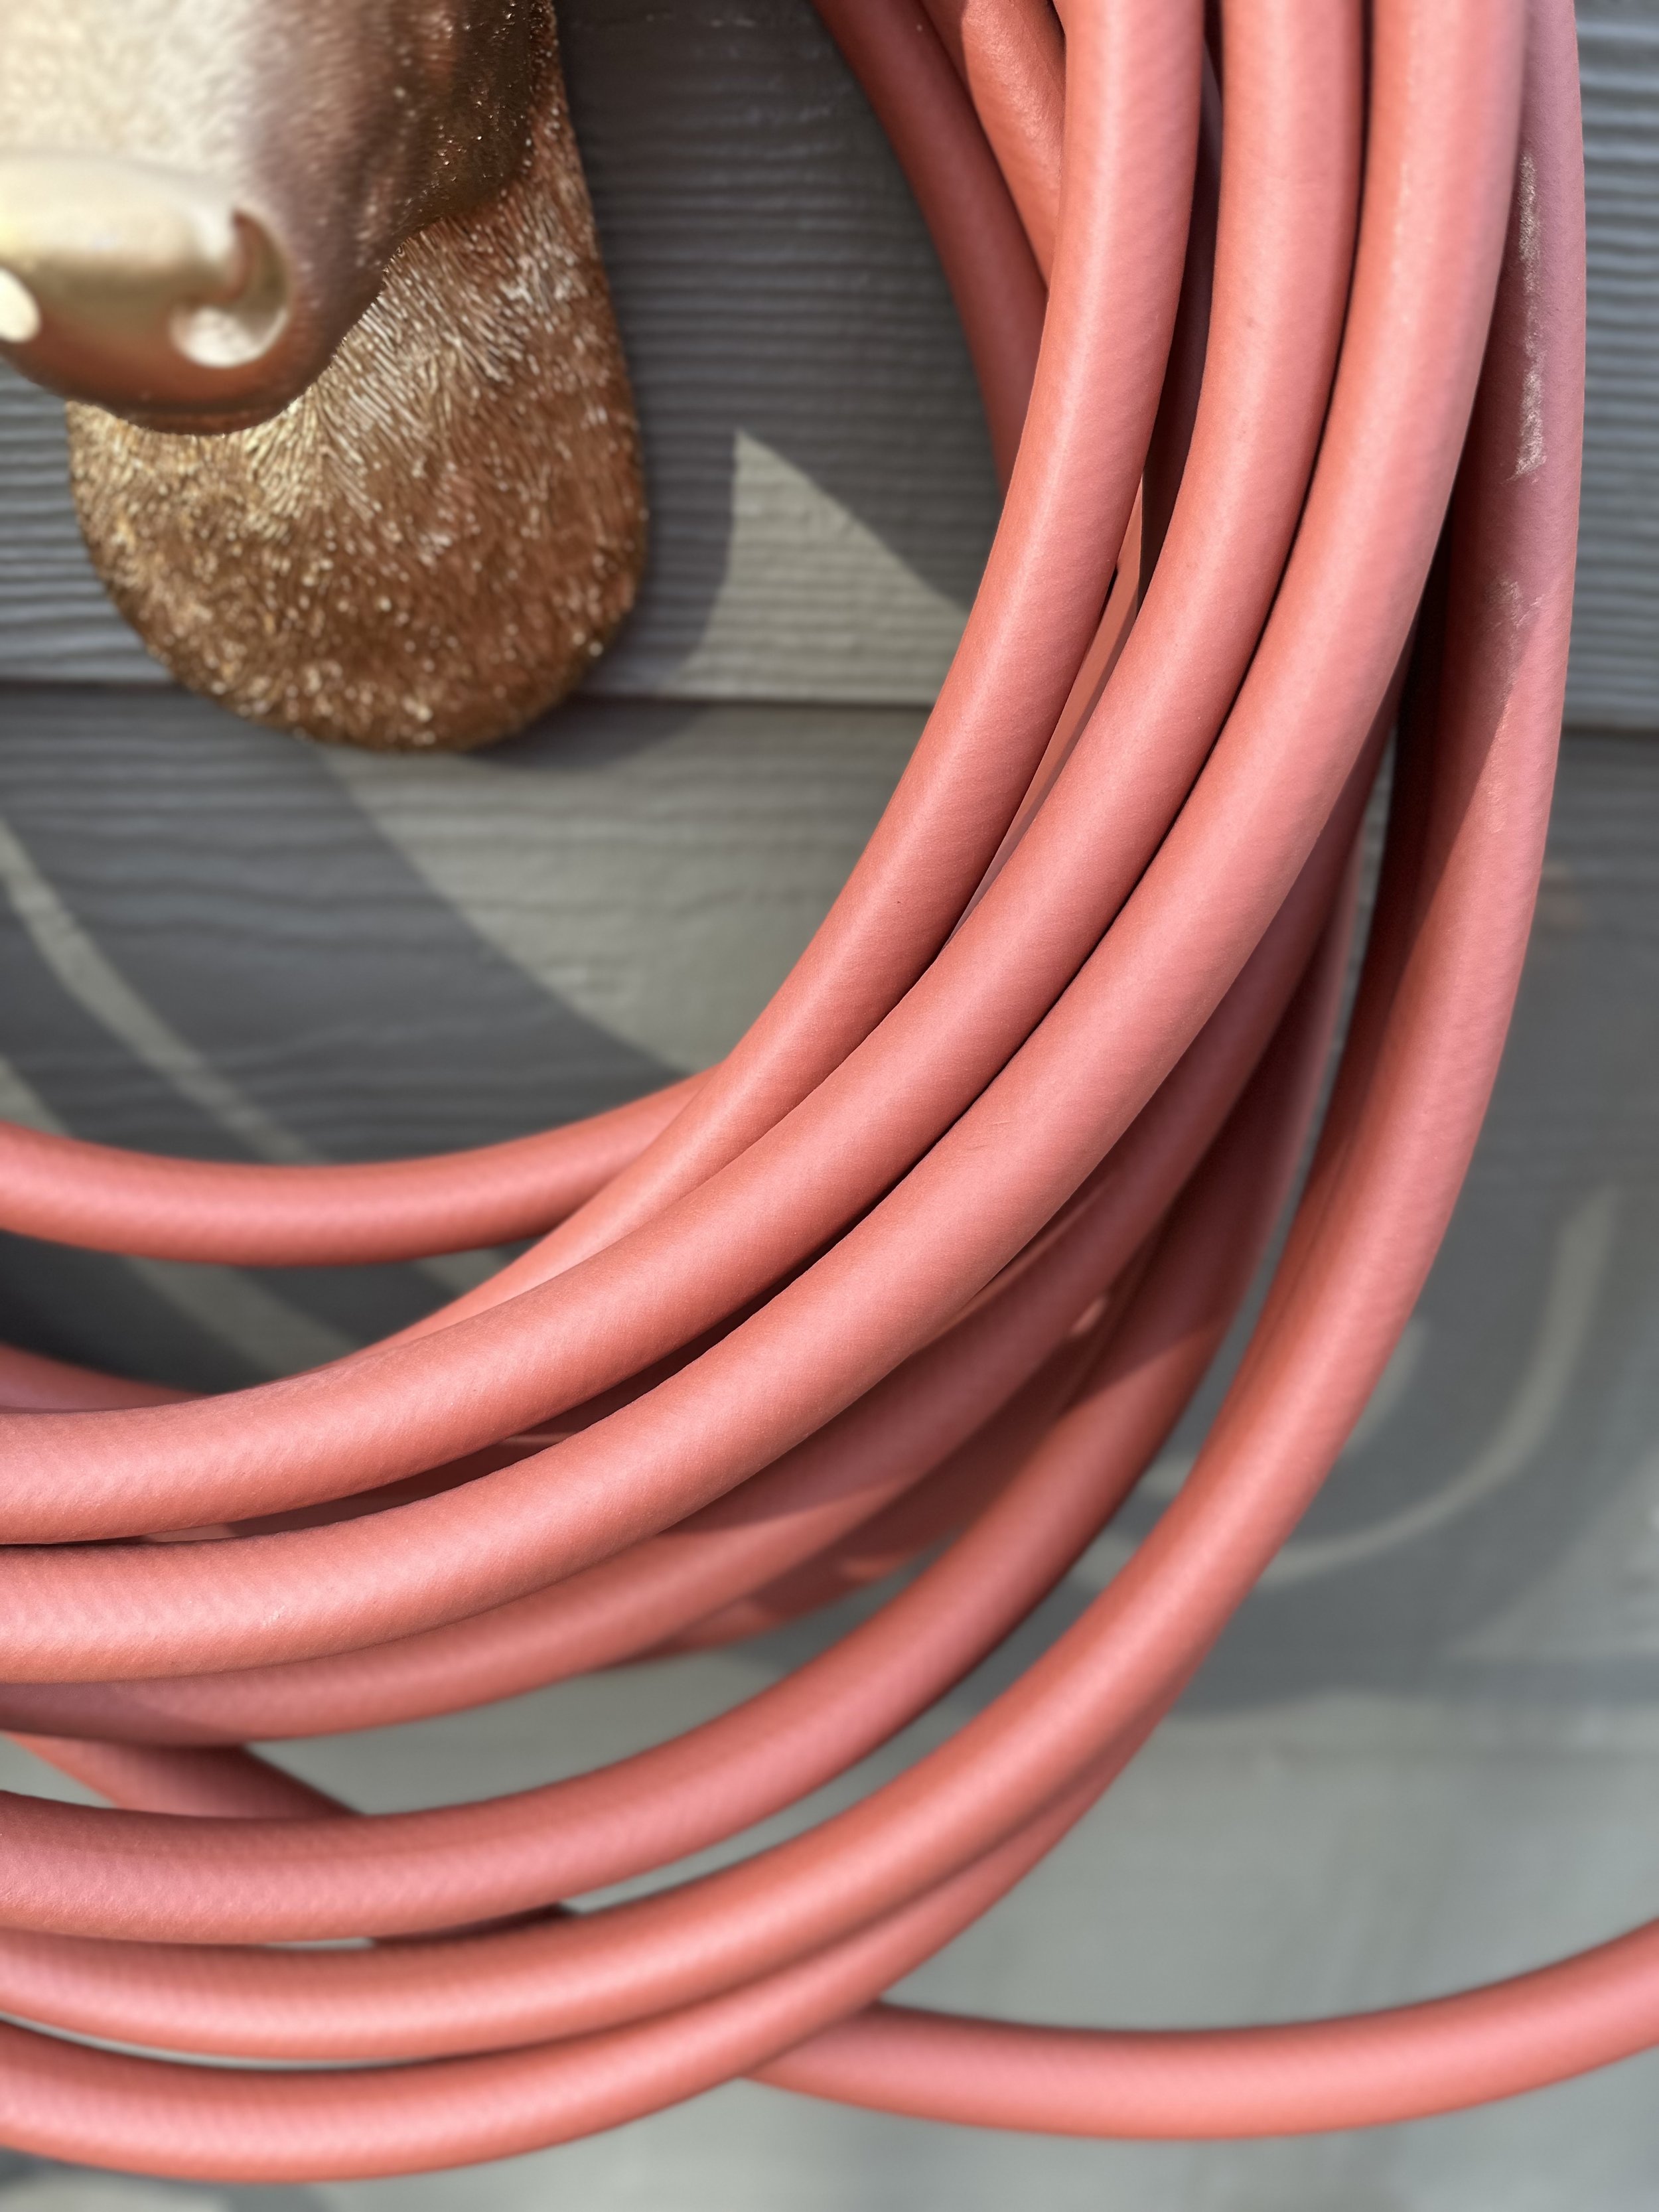
Just screw in the new house and wrap it around the deer antlers.
Step 6. (Optional) Add a gold tip to your hose.

If I was going to do this project, I was going to do it right. That meant investing in a fancy hose tip to match my spigot. I got really lucky, because the shade of gold perfectly matched my spray paint.
Step 7. Enjoy!
Step back and look at what you created! Your garden hose went from drab and outdated to a beautiful statement piece that will leave guests asking for details for years to come. Well done!


I hope this blog (and these photos) inspire your next project. If you’re ready to take your furniture makeover skills and home projects to the next level (on a budget), follow me on Instagram.