I bought the cheapest end table on Amazon… then gave it a makeover!


If you’re looking for a step-by-step guide to repurposing and refinishing one of the cheapest pieces of furniture on Amazon… this article is for you! I bought this end table for less than $25 dollars. They have quite a few style options, but I wanted one with storage. This article contains affiliate links.
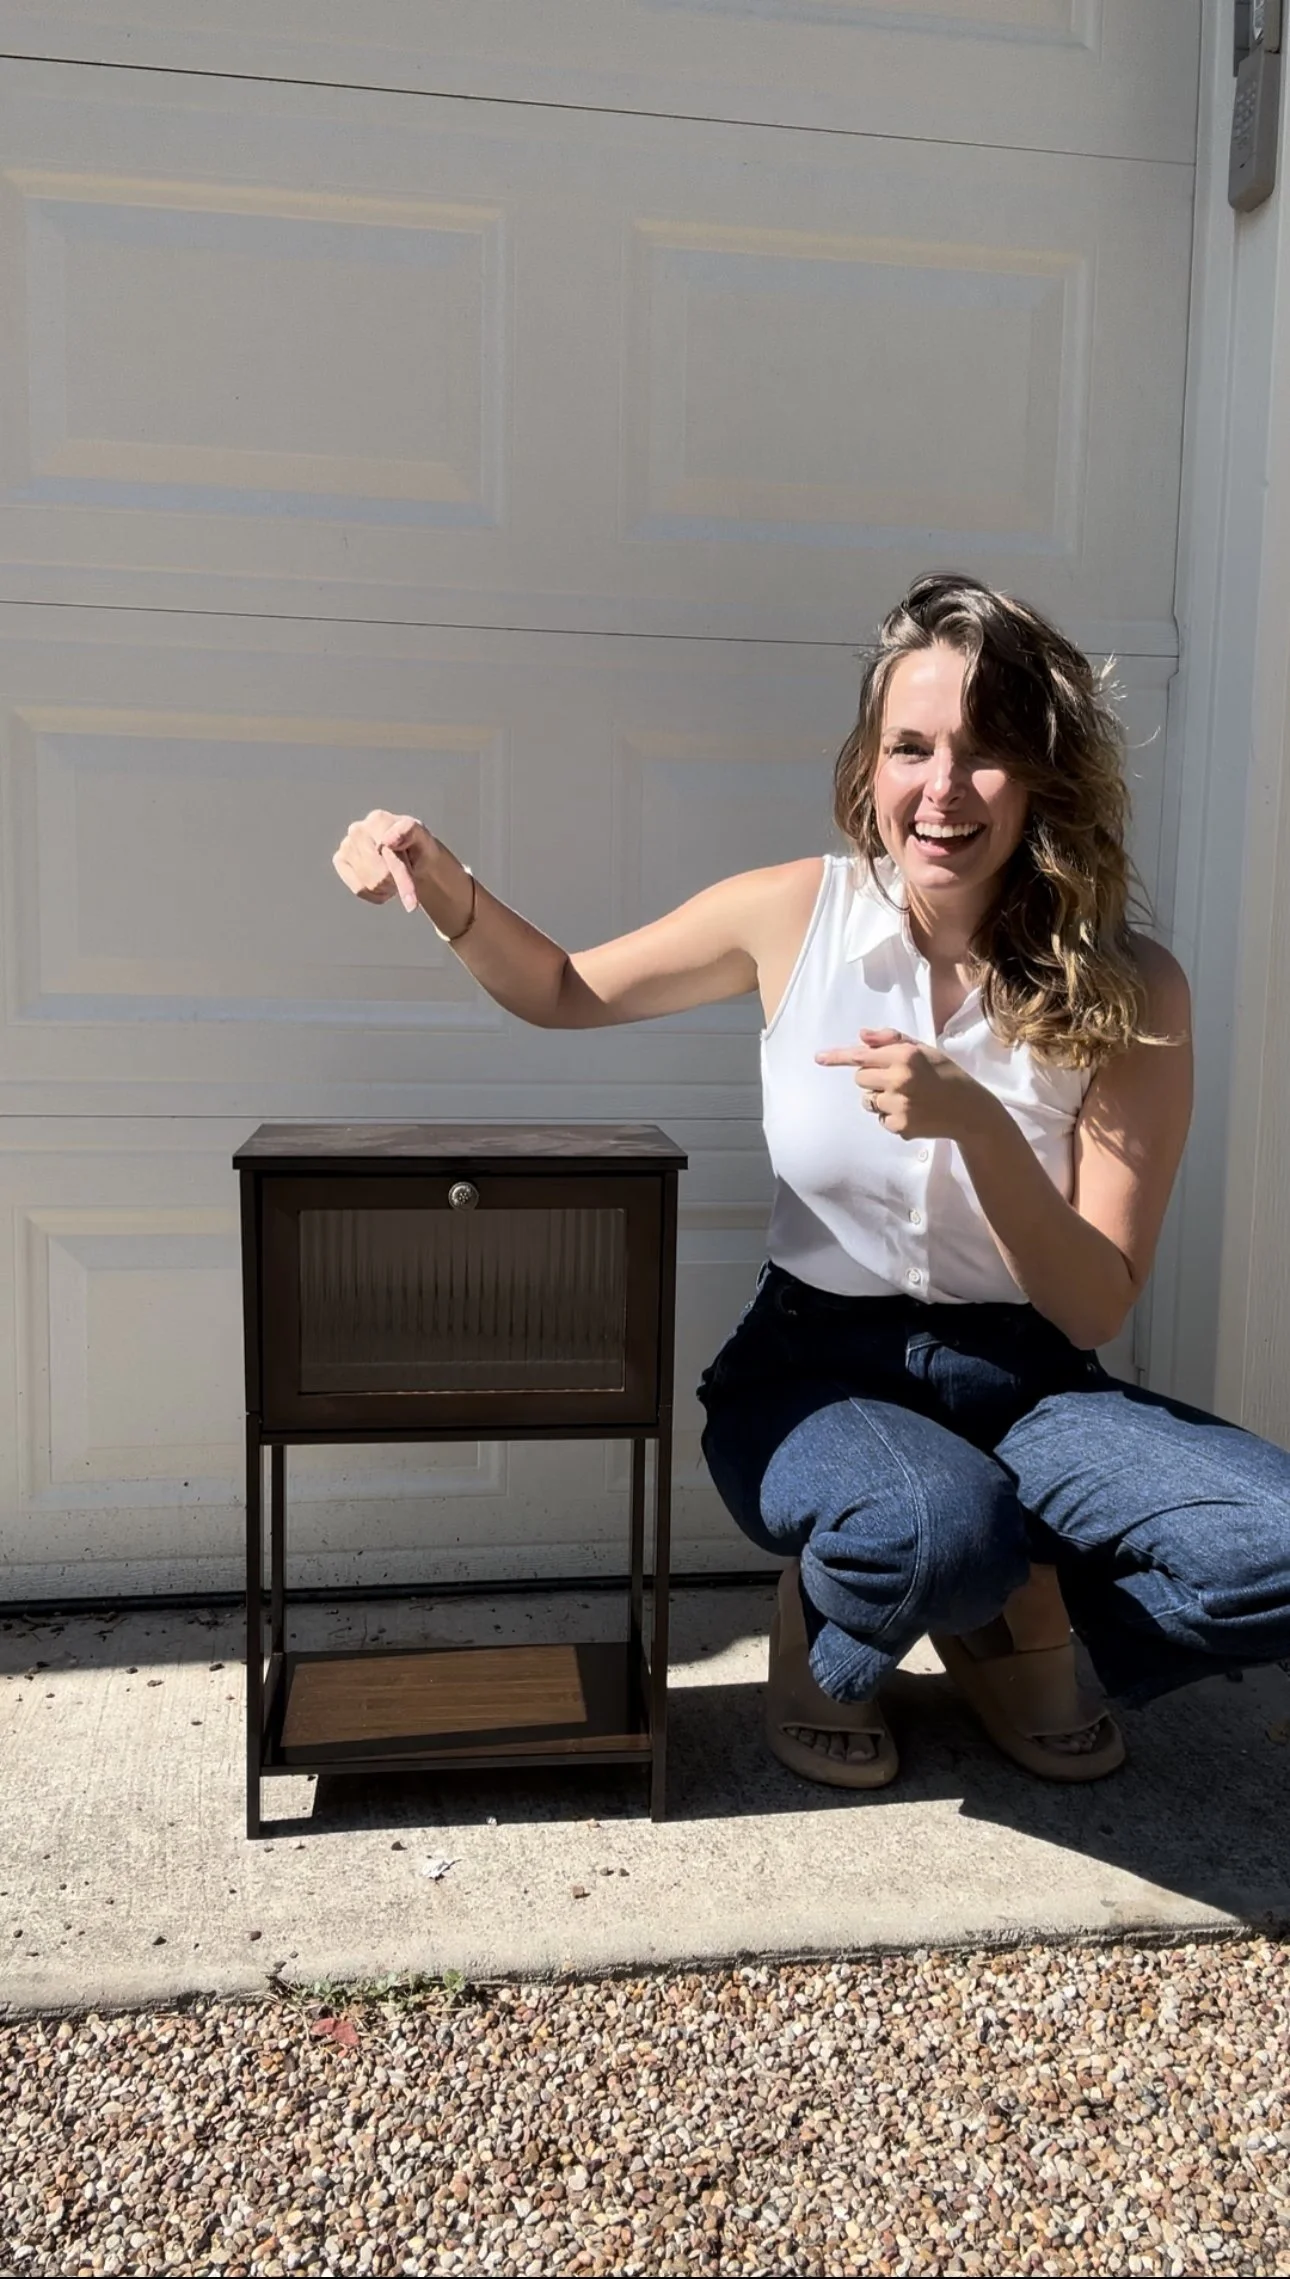
Step 1. Order your end table.
In this blog, I’ll be flipping this specific table. However, the steps will apply to really any piece of furniture you choose!
Step 2. Build it.
Don’t worry, the instructions were clear. I think it took me about 15 minutes. Just turn on your favorite tv show and try to enjoy it. Or outsource it to the builder in your family.
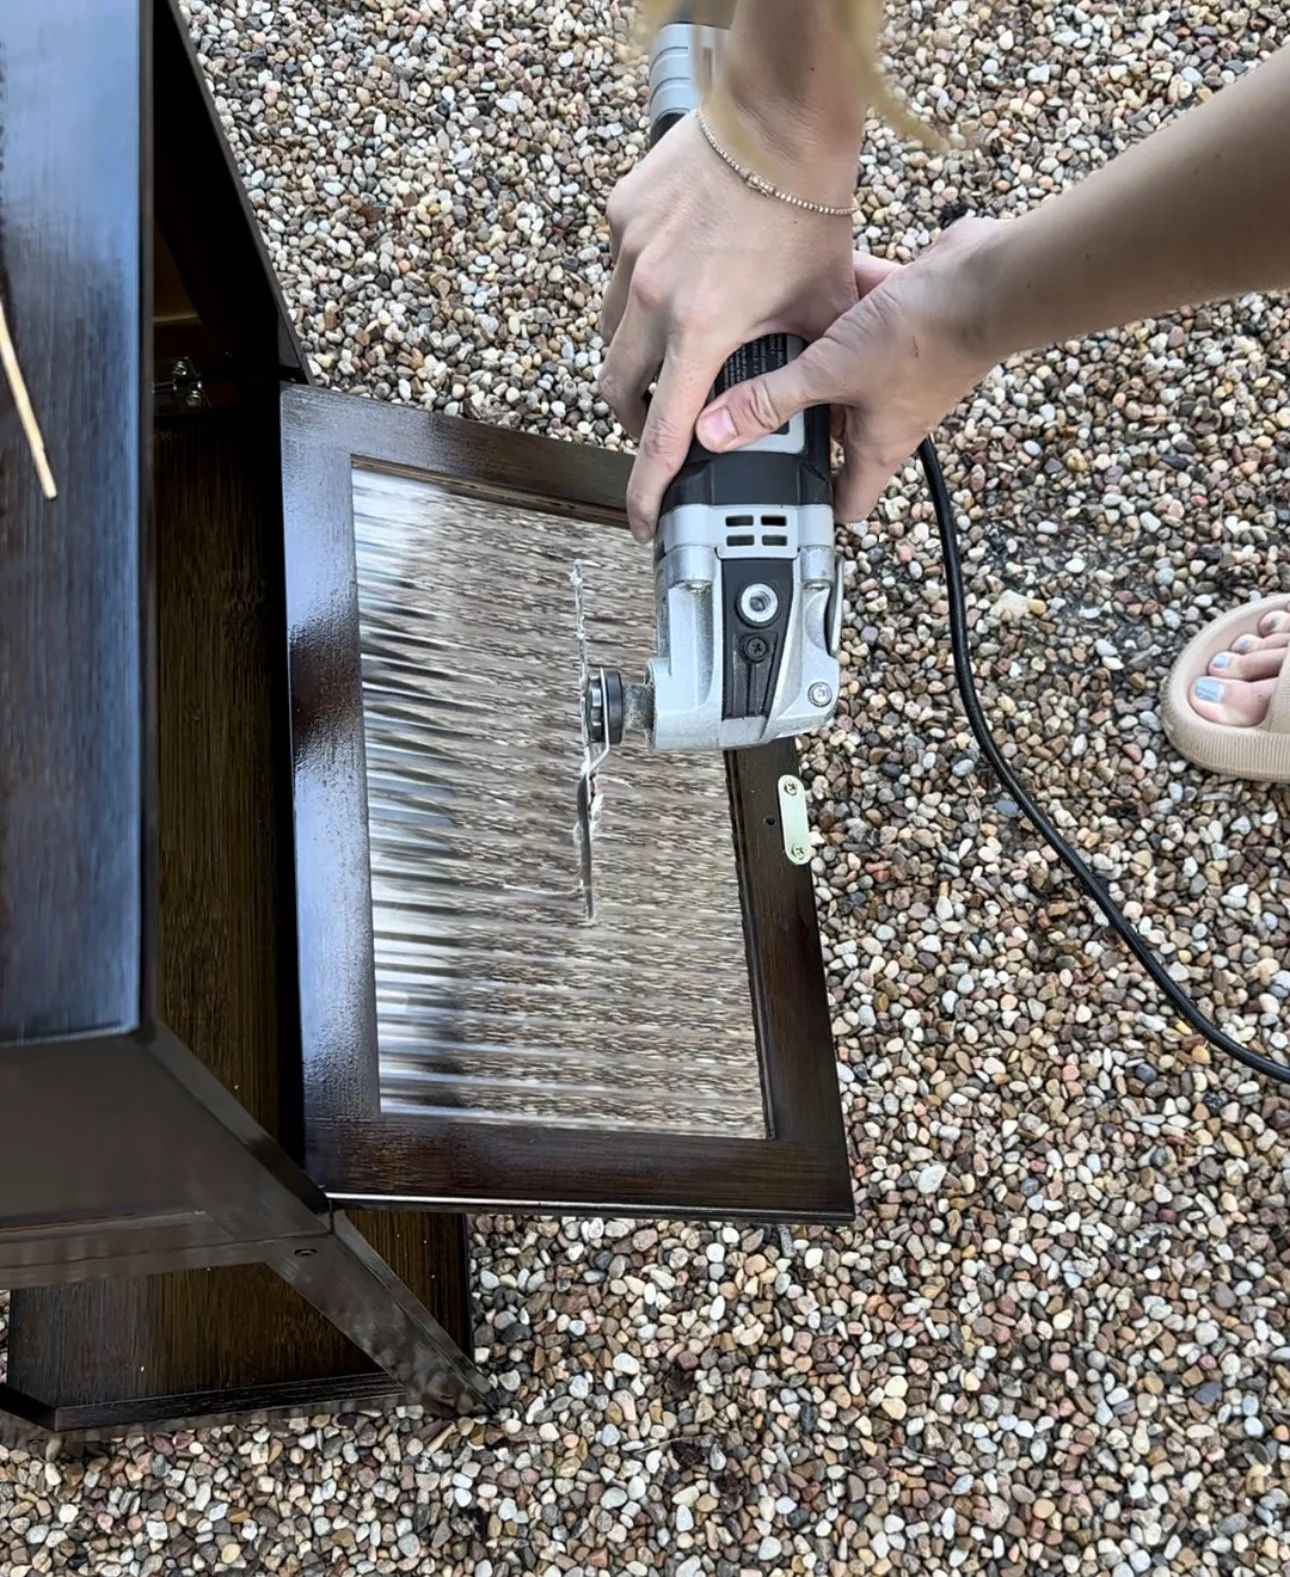
Step 3. Cut out the plastic.
Thank goodness it’s not glass! I removed the plastic with a multi-tool like this one. If you don’t have one and aren’t ready to invest— don’t fret! Remove the plastic however you can. Use an axe for all I care (just be careful to not damage the door, wood, or yourself)!

Step 4. Remove the knob and pick a new one.
You may like the included knob. It was a little dated for my taste, so I purchased these beautiful gold knobs for a pop of shine.
Step 5. Sand the entire piece and clean.
You can find a great beginner sander by clicking here. I’d use 120 grit sandpaper. You need to sand every single spot that will be painted. Otherwise, the paint may not adhere. When done, clean it with a rag and my favorite cleaner, Krud Kutter.

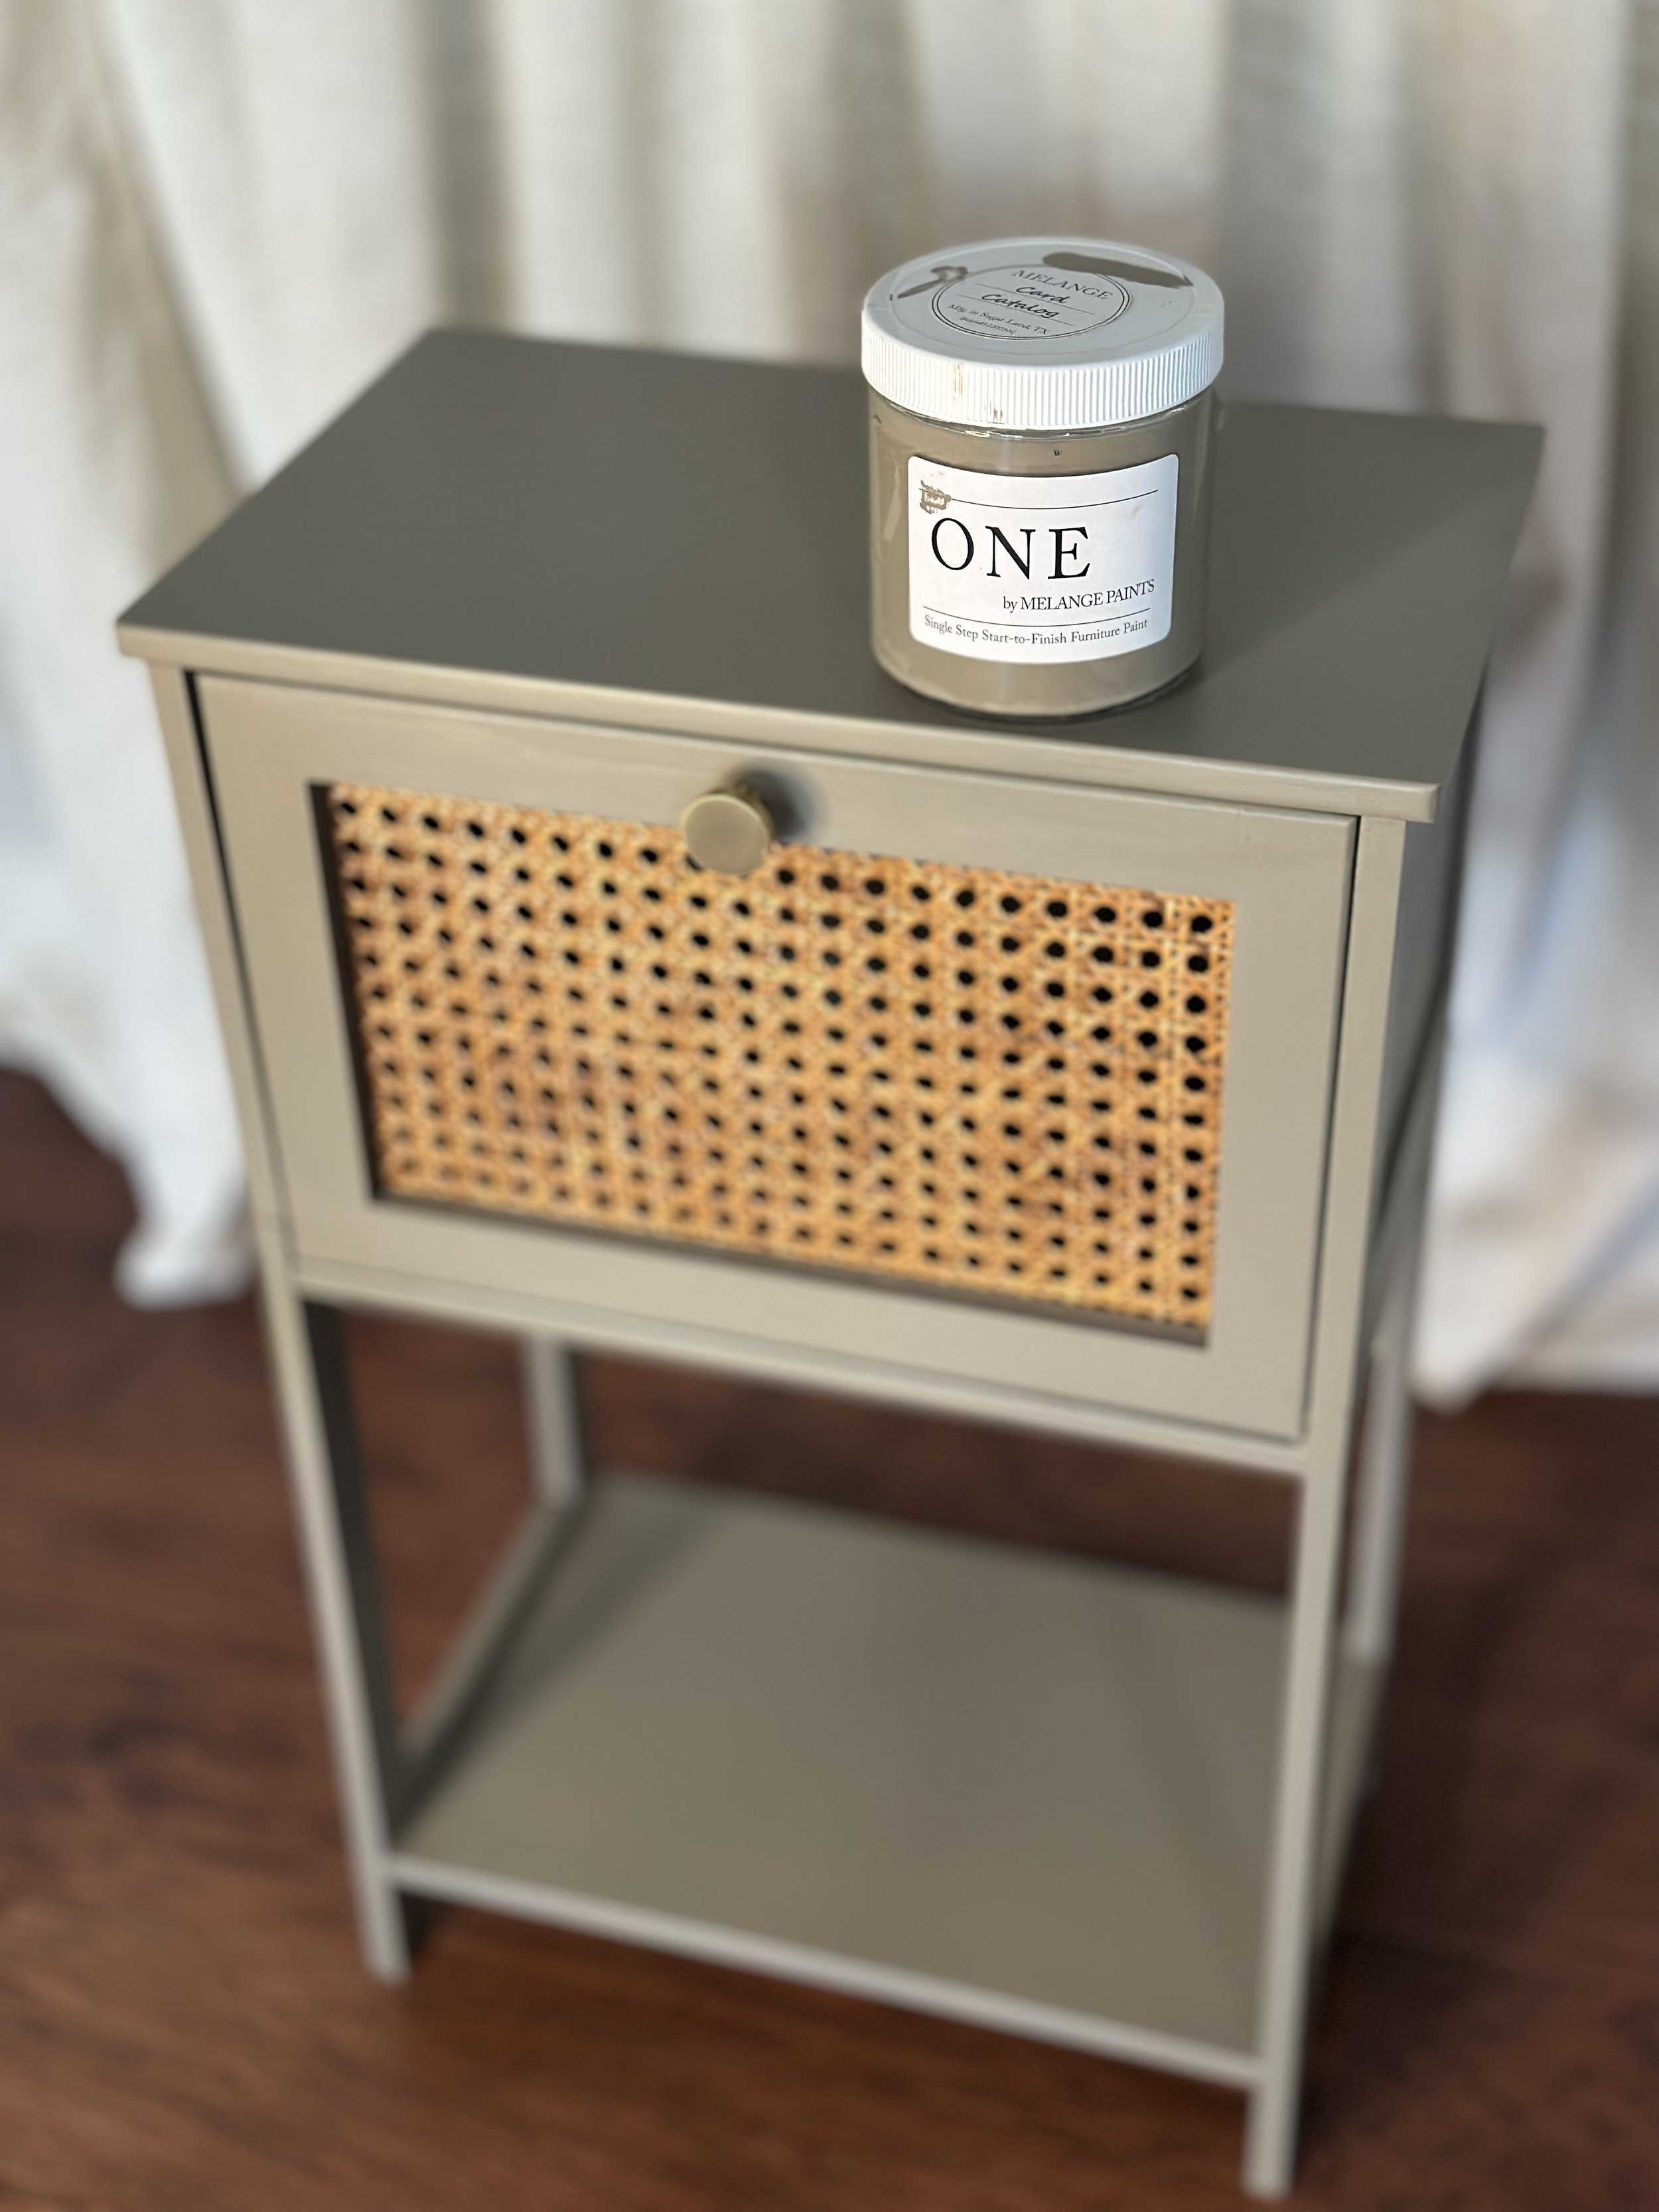
Step 6. Paint
I highly, highly recommend using Melange Paints ONE. This line includes a built in topcoat and primer. Occasionally you may want to prime or seal for added protection, but it is truly the best furniture paint I’ve found. It’s also American-made and female-owned. On this piece, I used Card Catalog ONE. Promo code MAGGIE10 saves 10% on all Melange Paint orders!
You can use a brush or a sprayer. If you’re a newbie, stick with a brush. Details on avoiding paint strokes are easily found in my furniture flipping course linked here!

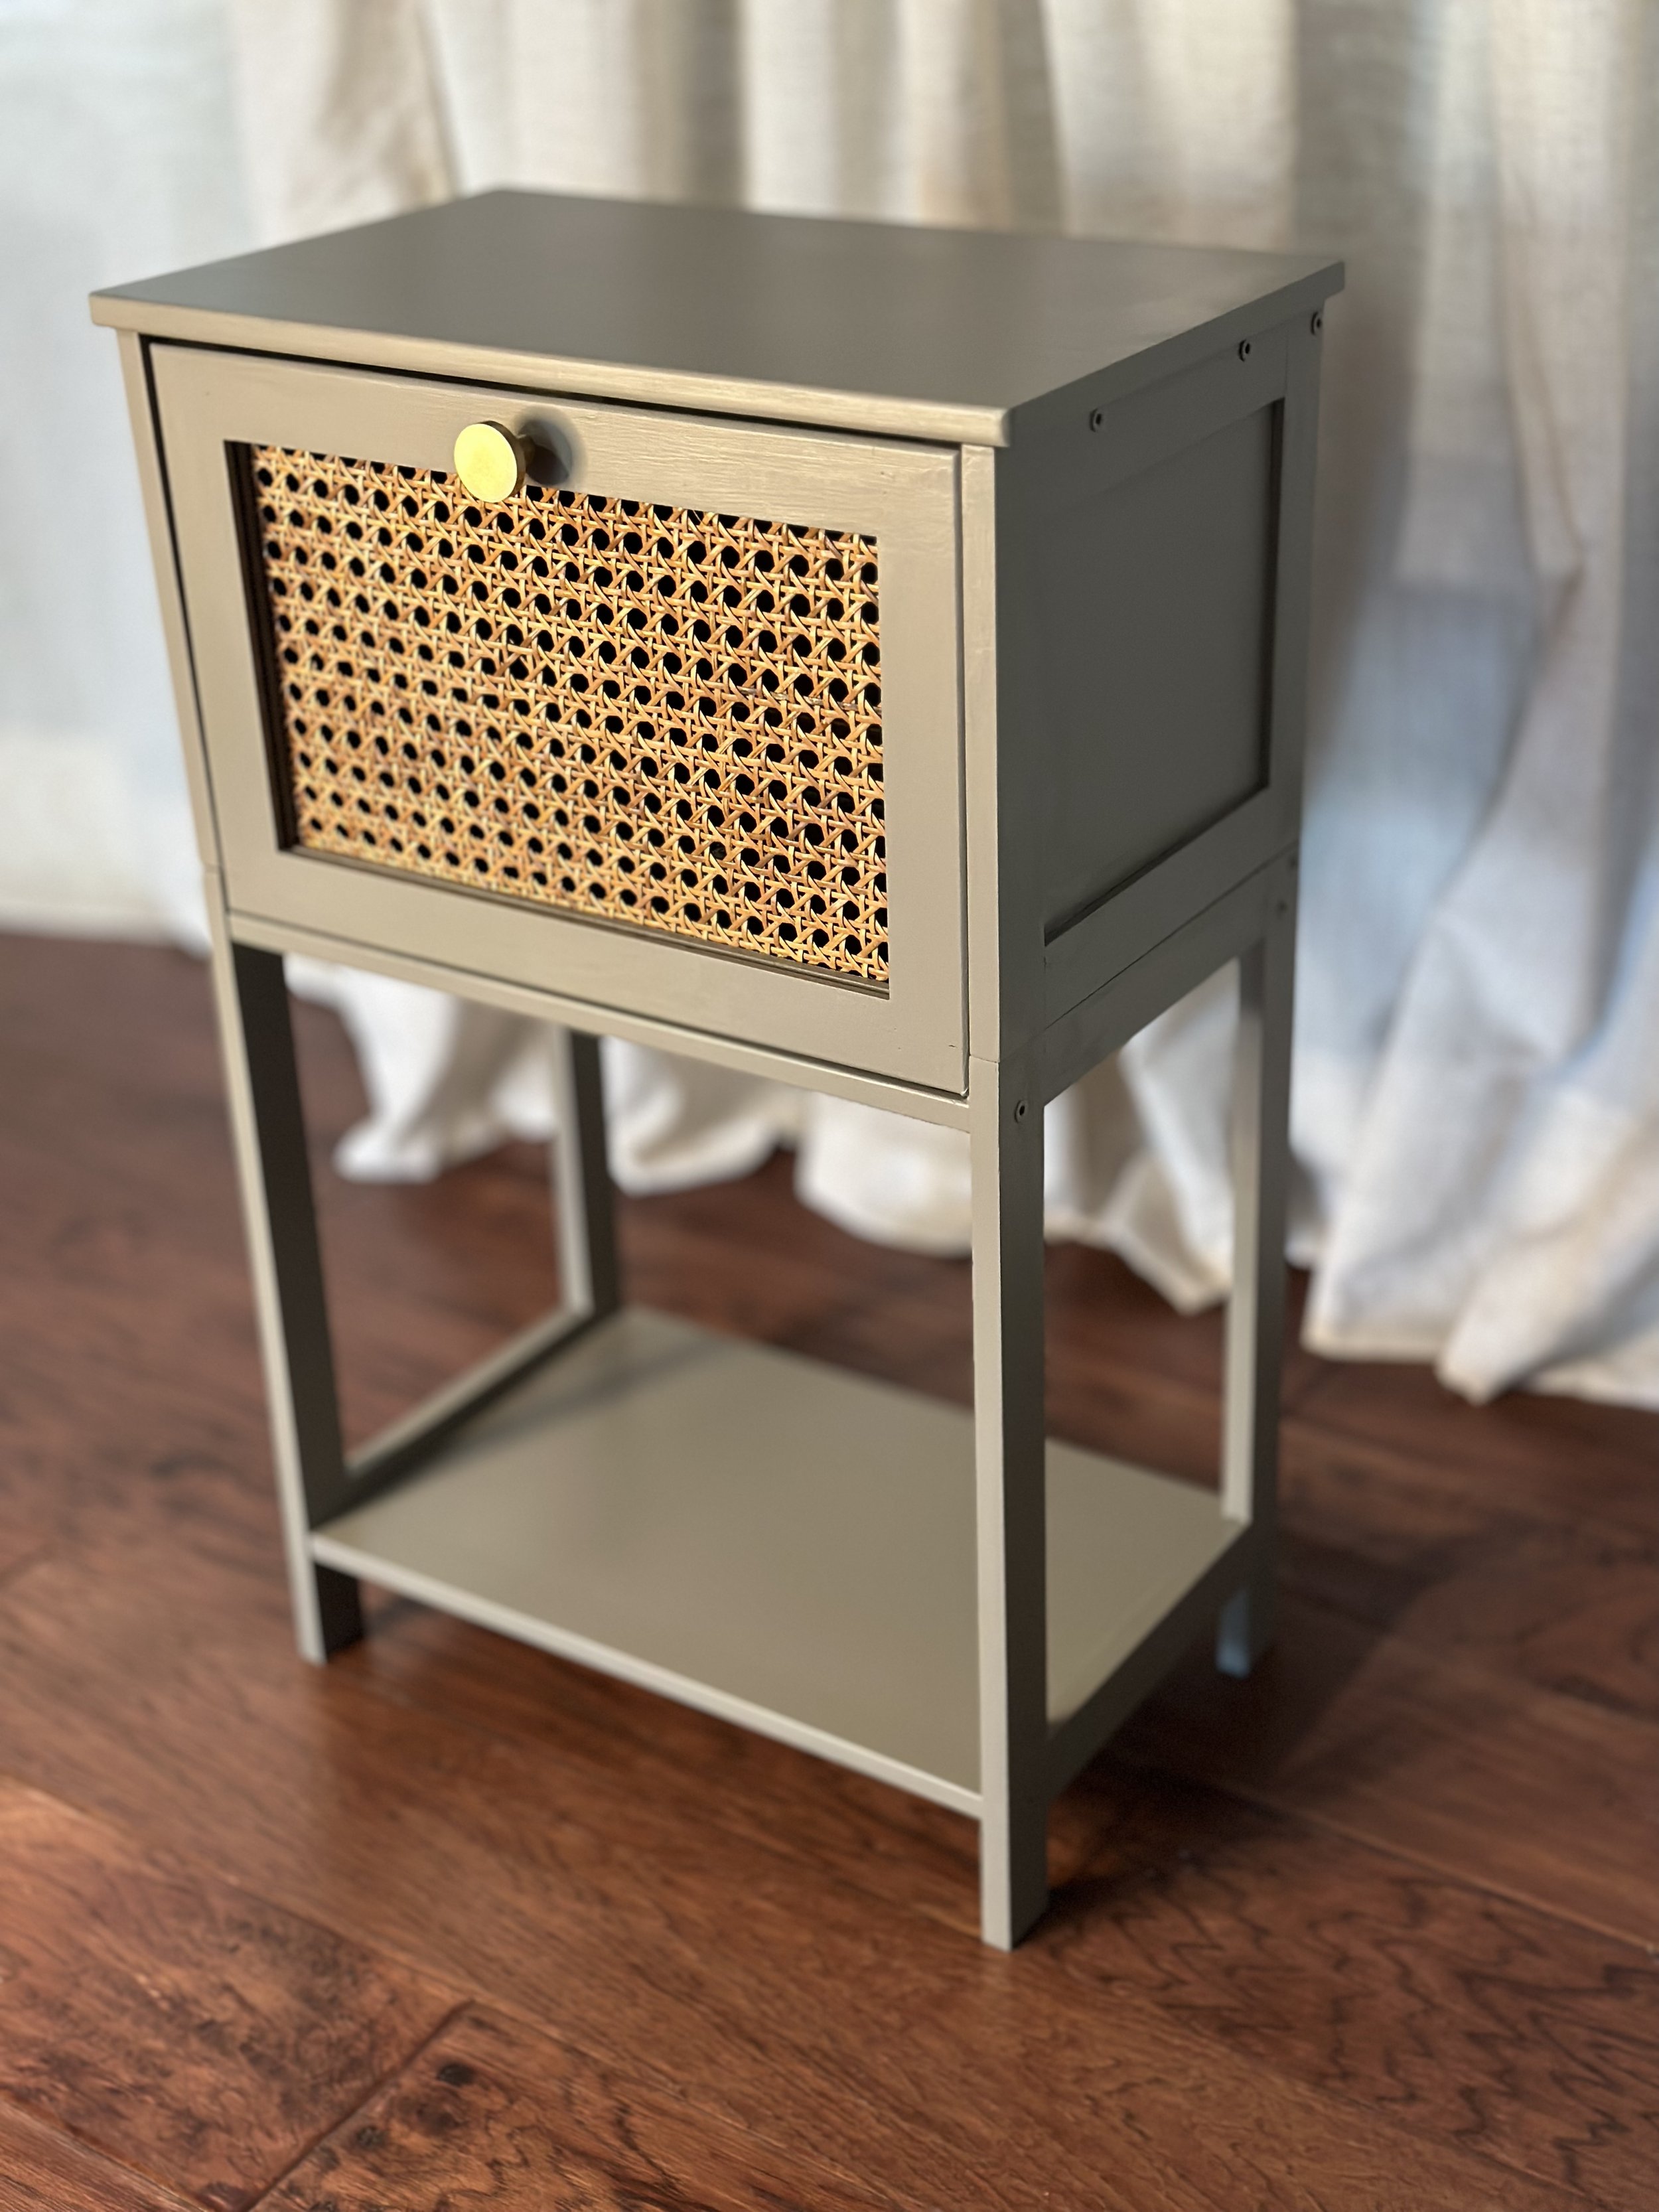
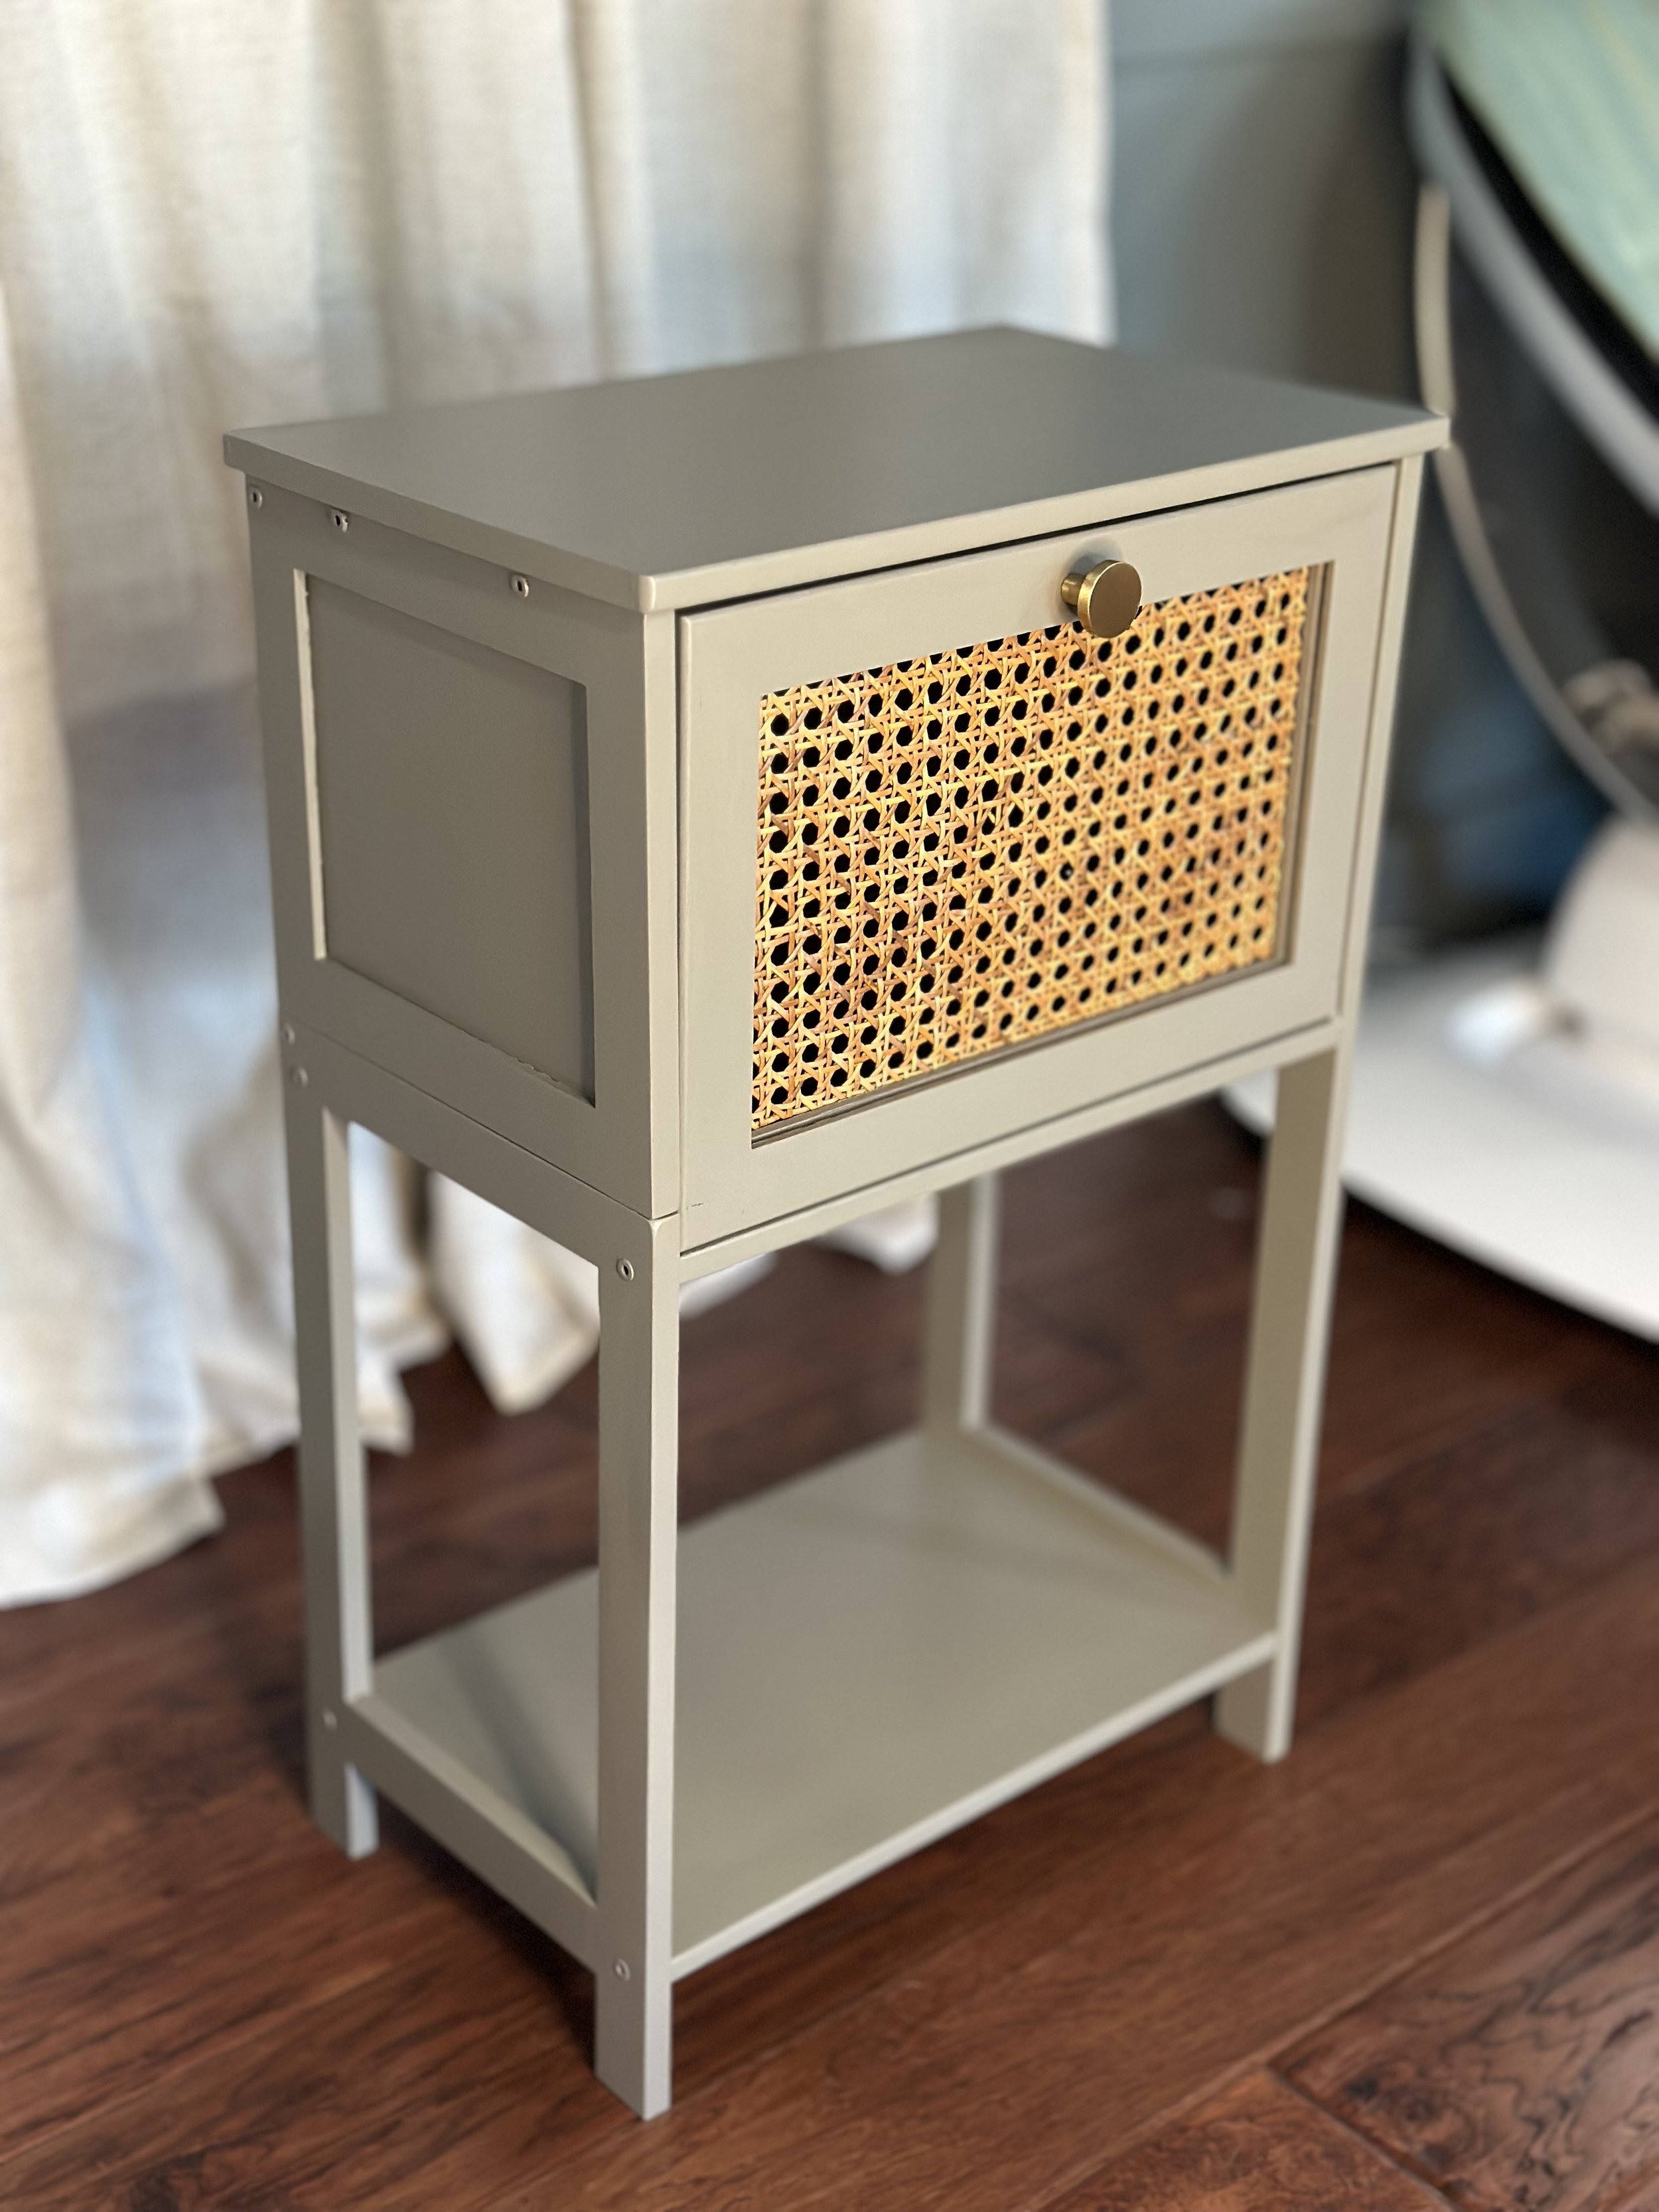
Step 7. Add your cane and knob.
Your knob can be screwed in easily. I added the cane by using KrazyGlue. I was nervous staples or nails would go through the wood and be visible on the front of the furniture. If you don’t have spare cane and don’t want to pay for it, look into burlap for a more affordable alternative.
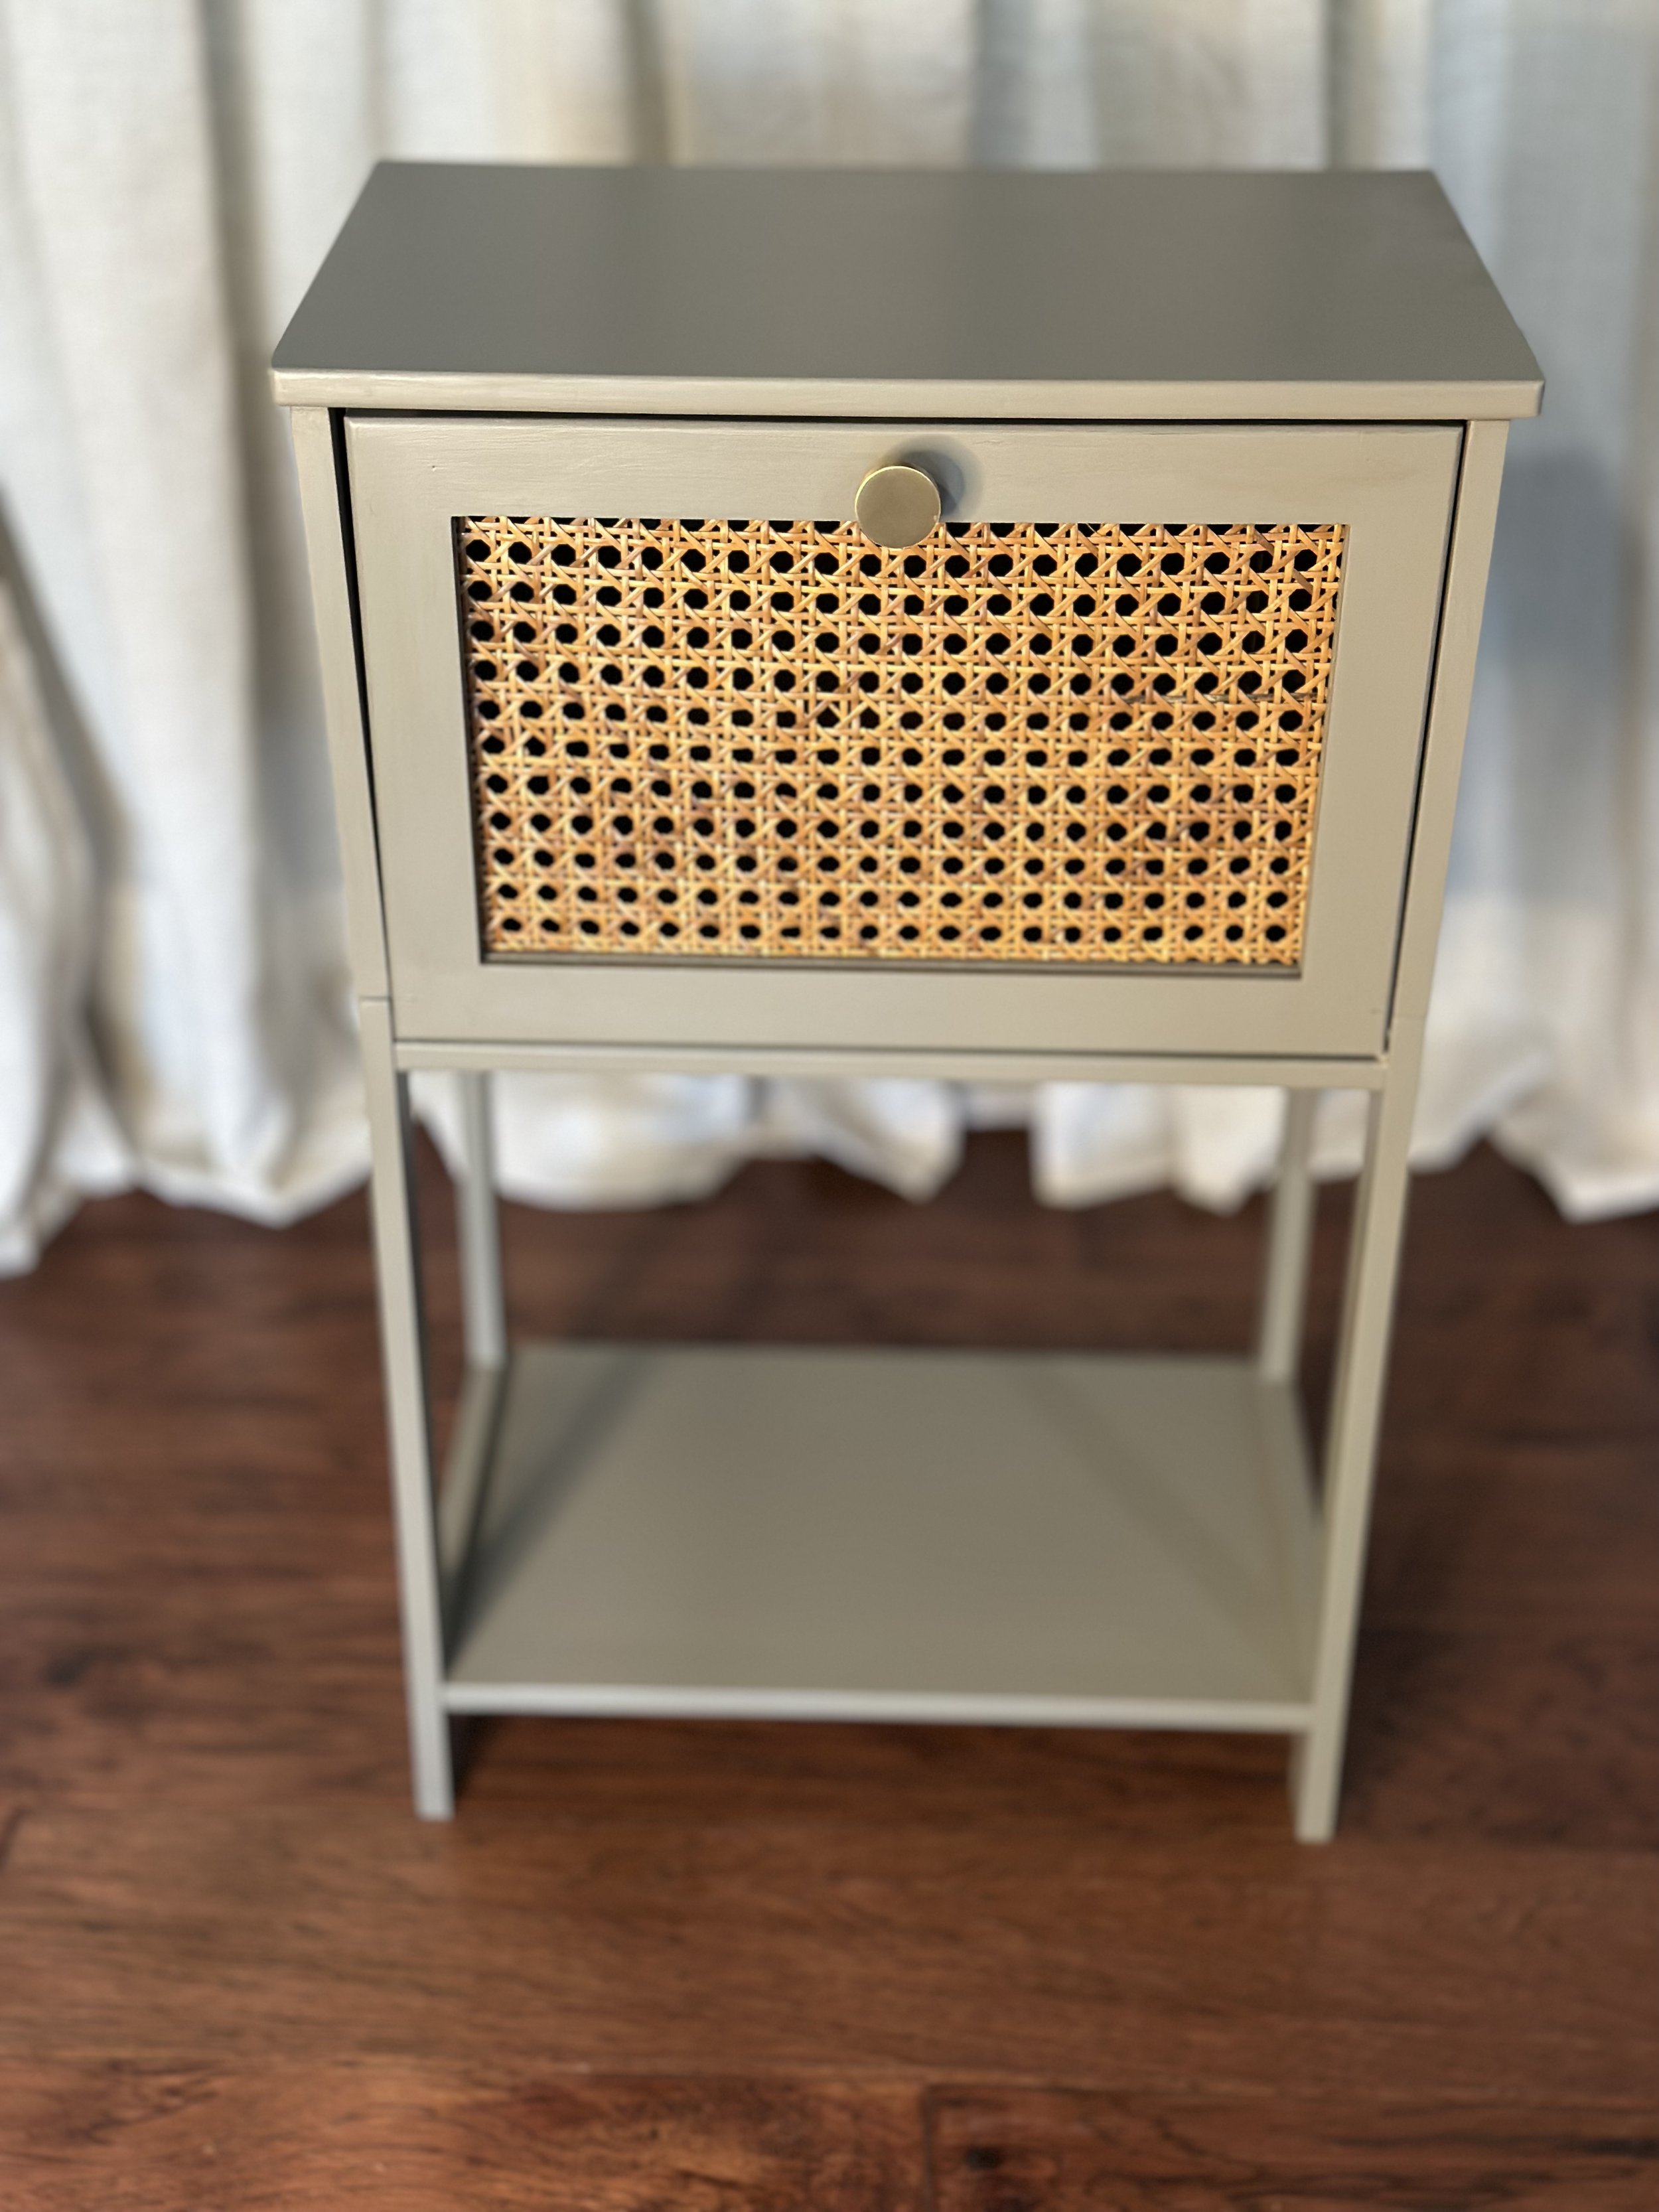
Step 8. Step back and look at what you created!
Then relish in the true joy of creating something with your own two hands. You saved money, created something new, and found a fun way to spend your time today! Brava!
I hope this blog (and these photos) inspire your next project. If you’re ready to take your furniture makeover skills to the next level, take a look at this course I created. It includes lifetime access, a FB group with thousands of members, and lessons on every step of the process!